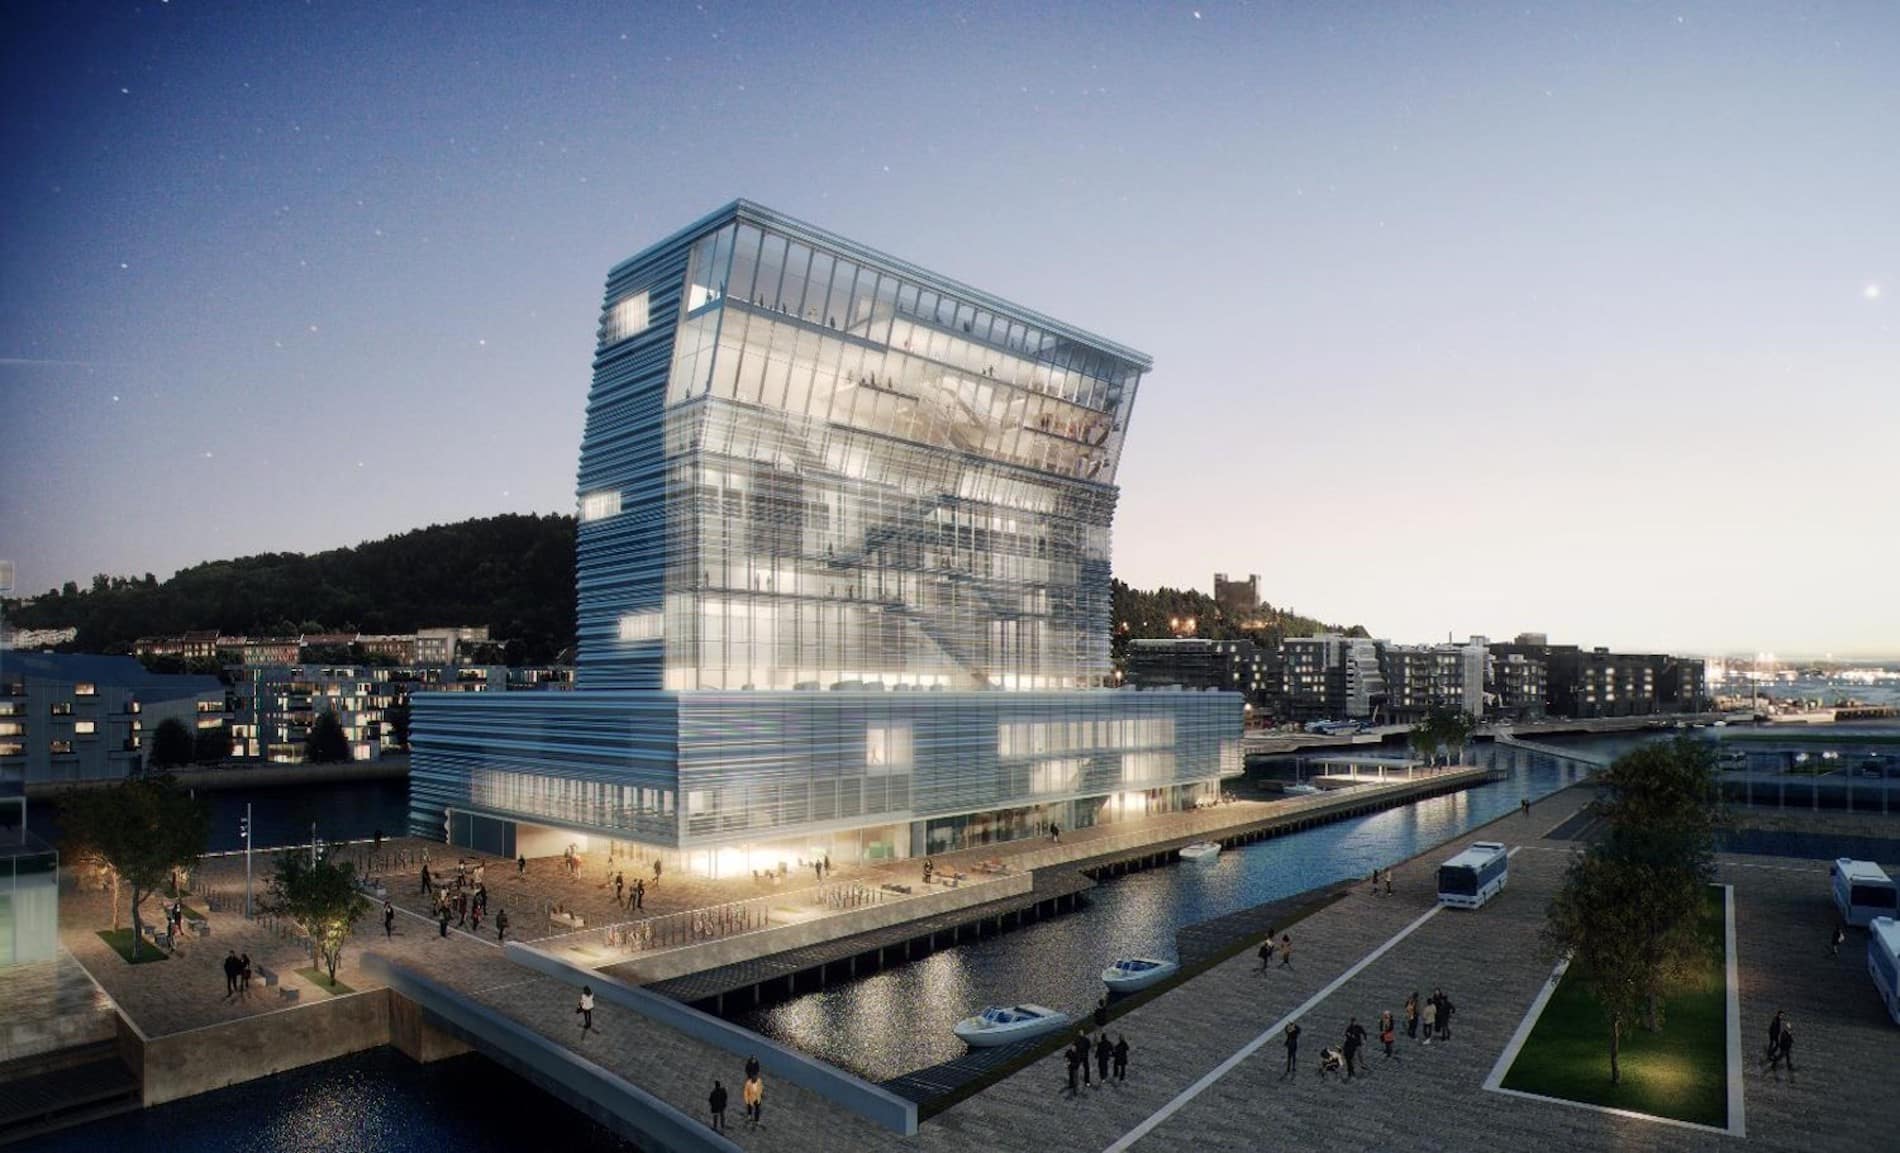
3D visualization is an essential part of architectural illustration today. Renders allow you to communicate your vision and intent to clients and colleagues. This is why models or drawings are often sent out to be professionally rendered. This is an expensive but usually necessary process. However, it is possible to make high quality renders in-house using Revit or through the cloud.
What makes a beautiful render? Like many things, beauty is in the eye of the beholder. It is in the nuance of the materials you select, the lighting, the details you choose to include, and any post-production editing.
Here are a few thoughts on how to start making more beautiful, detailed renders in Revit.
I’ve wrapped them all up in a short video at the bottom of this post.
Materials
Materials are the foundation of every Revit render. They are what gives an element in Revit its color, context, and texture. They are part of the scene and should be adjusted accordingly.
The default color in Revit is grey. Leave the materials on their default setting and when you hit the render button, you will get a series of grey blobs with no information or appeal.
Luckily you can easily change this by adding texture to the material. Look in Revit’s image library or Google JPEG’s or PNG’s with your desired texture. Remember that you can also experiment with attributes like reflectivity and transparency to get the textures looking just right.
Details
It is the details that make a render feel realistic. Buildings do not sit in a vacuum. Neither should renders. The more detail you are able to add to your render, the more more realism there is to your images especially when you work with real-life details. Beautiful renders are photo-realistic. As in photos – trees, people, and other outdoor elements – create the scale and real-life feel. Real pictures are never perfect and a hundred percent clean so neither should your render be.
Sun and Artificial Light
Light is the most important aspects of a rendered image. The lighting of your building should match the lighting of your surrounding. Everything should look like it works and is meant to be together. The shadows should look good and the lux, luminous or wattage should be correct on the artificial lights you are using.
Although you can adjust the exposure afterward rendering you don’t want to be spending all your time doing adjustments. Try to set up the image correctly from the very beginning. This becomes even more important if cloud credits are involved.
Tip: It’s a good idea when trying to render your design to have lights hidden away from the building. This will add some hidden light in the hidden corner or in the back of the camera to give some illumination to the building, just make sure to delete them where they are not needed.
Editing the Render
You can adjust the render after you have rendered it. This is a good way to make minor changes without having to render all over again. You can make things darker or lighter. Change the color make it warmer or cooler. It is sometimes essential to work on some area of the scene to add some dramatic shadow or to correct some texture. You can do this within Revit without having to export to another software like Photoshop and it will hopefully save you time and money..


