
March 11, 2021
Tip: 5 steps to great renders from Lumion
This article was originally published on the Lumion Blog.
You’ve finished your 3D model and imported it into Lumion. Now, it’s time to make it look great. With all of Lumion’s functionality just inviting you to transform your 3D model into a beautiful render, it can be difficult to know where to start. This blog gives you step-by-step hints of what you can do.
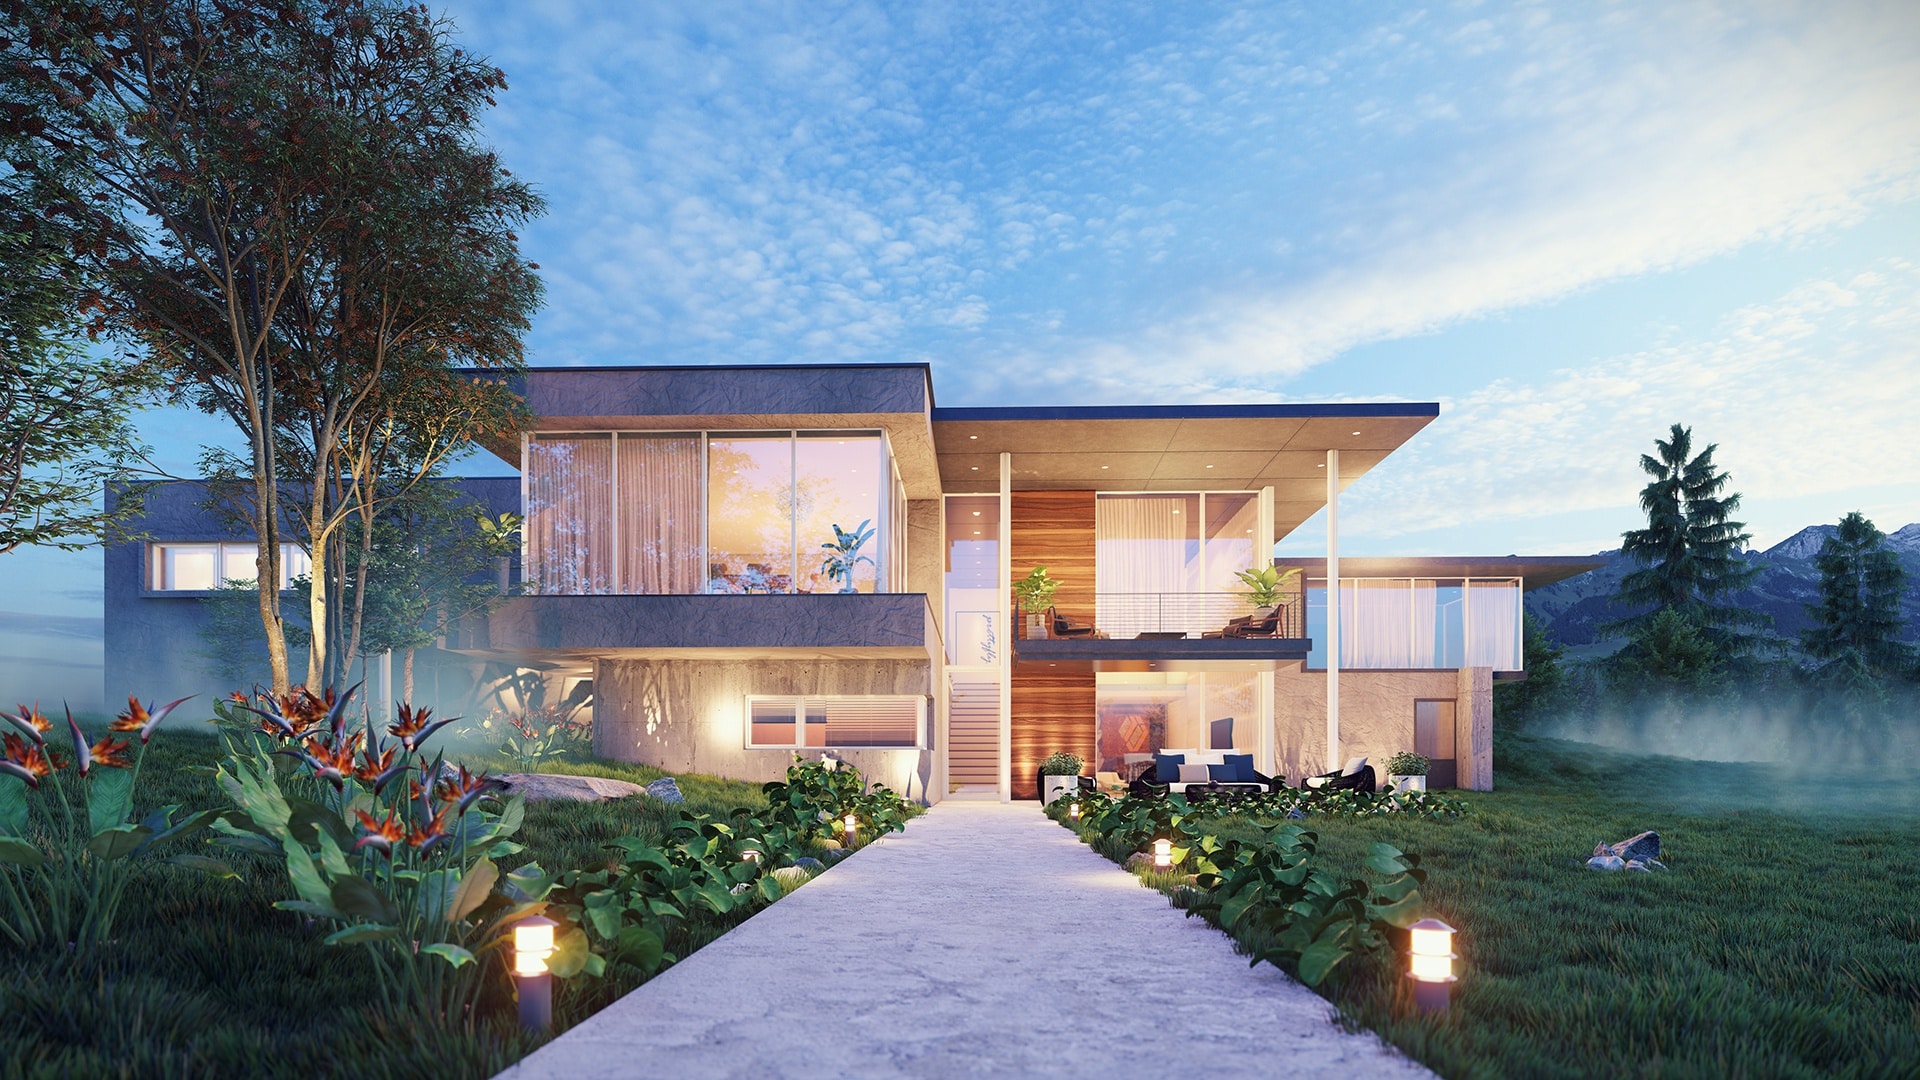
Villa, rendered in Lumion 9.5 by Gui Felix.
As intuitive and dependable 3D rendering software, Lumion makes it easy to quickly breathe life into your designs.
Simply imagine how you want to show your design, and you’ll find a wide range of easy-to-apply tools, features and effects. But before you start building a scene and rendering, there are a few questions you should answer first — 1) how do you want to artistically communicate your model and designs, and 2) how can you make it happen in Lumion?
Building an artistically compelling image or animation of your designs requires a vision of what you want to achieve. To enhance that vision in your mind, some questions to ask yourself may include:
- What emotions do you want to convey?
- Are you going for light and colorful, grey and bleak, or something else?
- Should the images look realistic or sketchy?
- Which parts of the building are you trying to emphasize?
To help streamline the development of your renders, we’ve provided 5 tried-and-true tips for transforming blank 3D models into beautiful, compelling images and videos.
Step 1: Find the best point (or points) of view in your scene
- Use at least one composition rule when framing and finding a camera angle for your image renders. Just a few of these rules include ‘simplify the scene,’ ‘use leading lines,’ ‘be creative with colors,’ and so on.
- When making an animation, set the camera height to the human eye level. The camera angle shouldn’t be too wide so as to avoid perspective distortion.
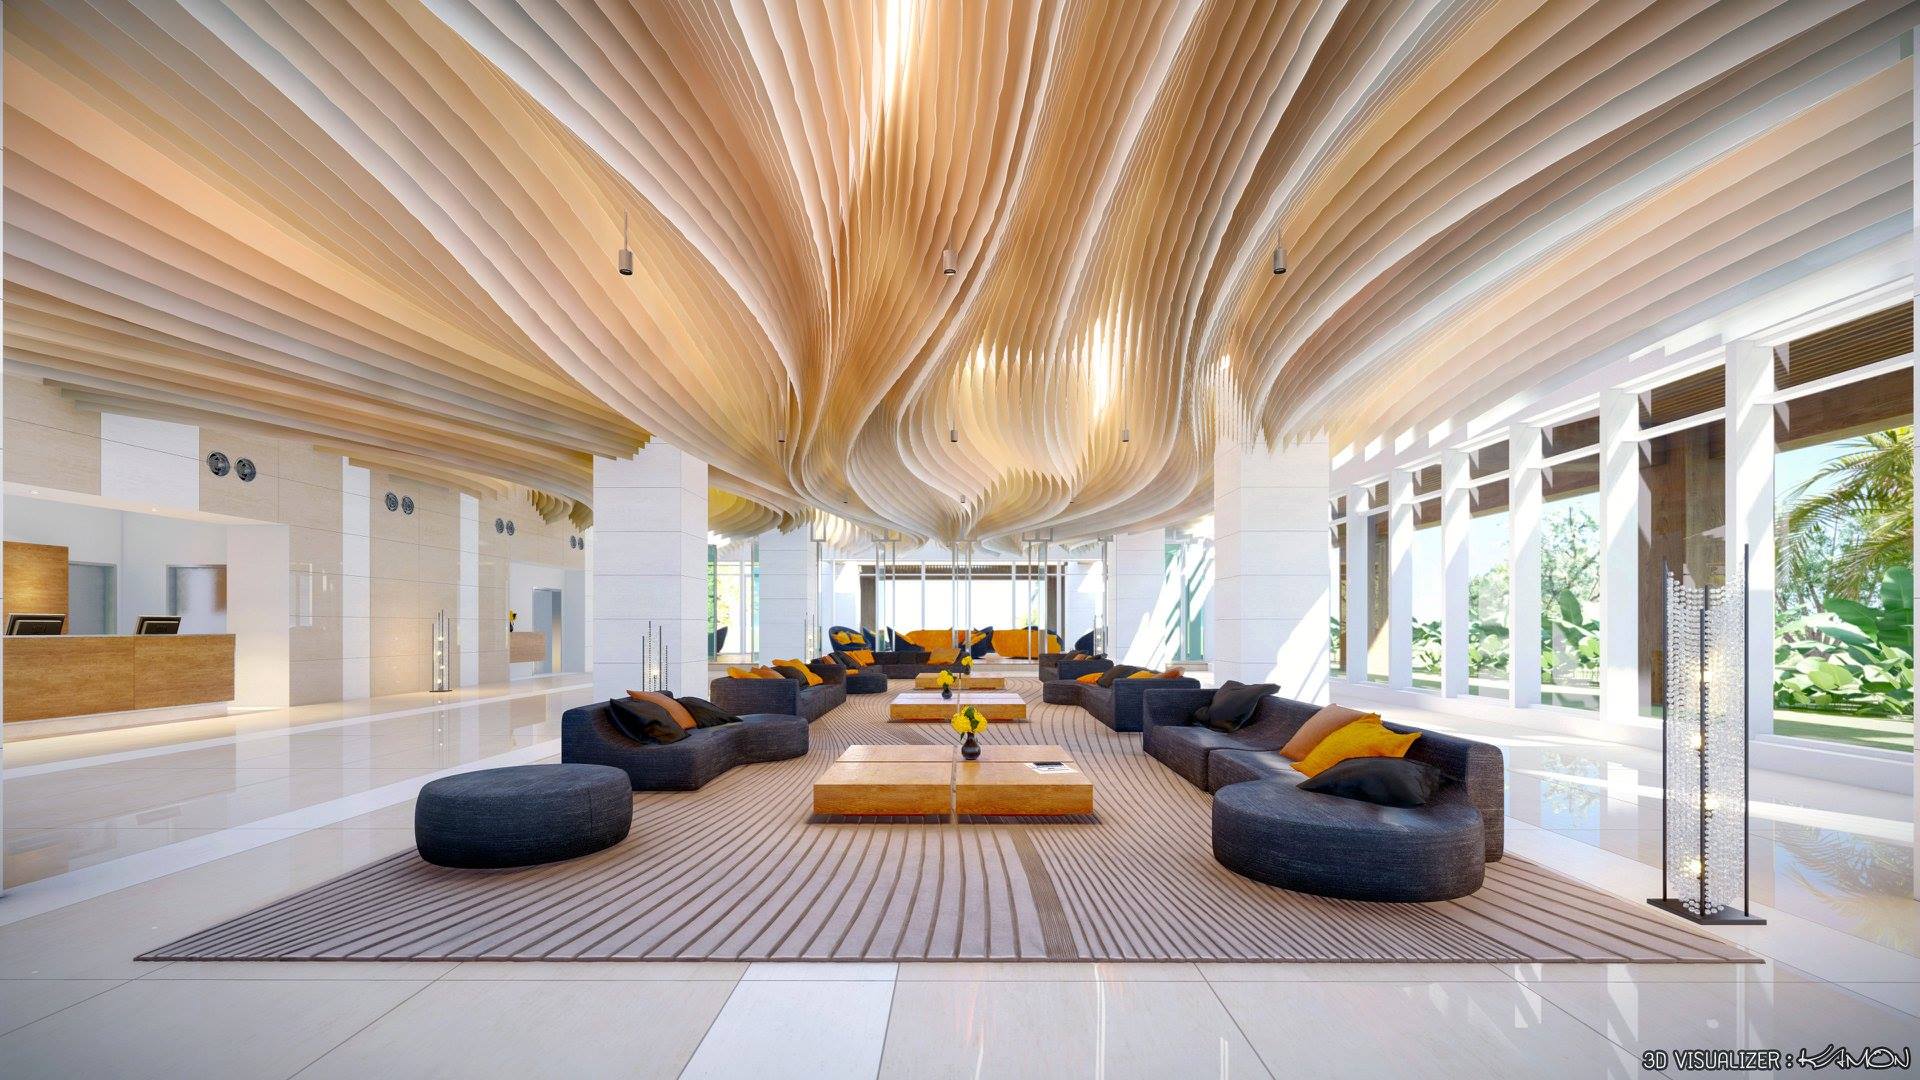
Interior wave lounge, rendered in Lumion 9 by Kamon Tangruen.
Step 2: Set up the scene’s lighting
- Find the best position for the sun so that it draws attention to the parts of the building that you want to highlight. You can use the “Sun Study” effect to accurately simulate the sun location at a particular location, time and date. Other effects such as the “Sun” effect and the “Real Skies” can help you control the environmental lighting in your design.
- Add interior and mood lighting. Even if the scene you want to show takes place during the daytime, interior and mood lighting can subtly communicate that the building is being used. You can also use volumetric lighting for an extra atmospheric feeling.
- Balance the shadow brightness and coloring with the context surrounding the building. For example, outdoor shadows tend to show with a bluer color.
- Avoid a high level of contrast in non-important areas. This is because high-contrast areas can sometimes direct attention to the wrong points in your design.
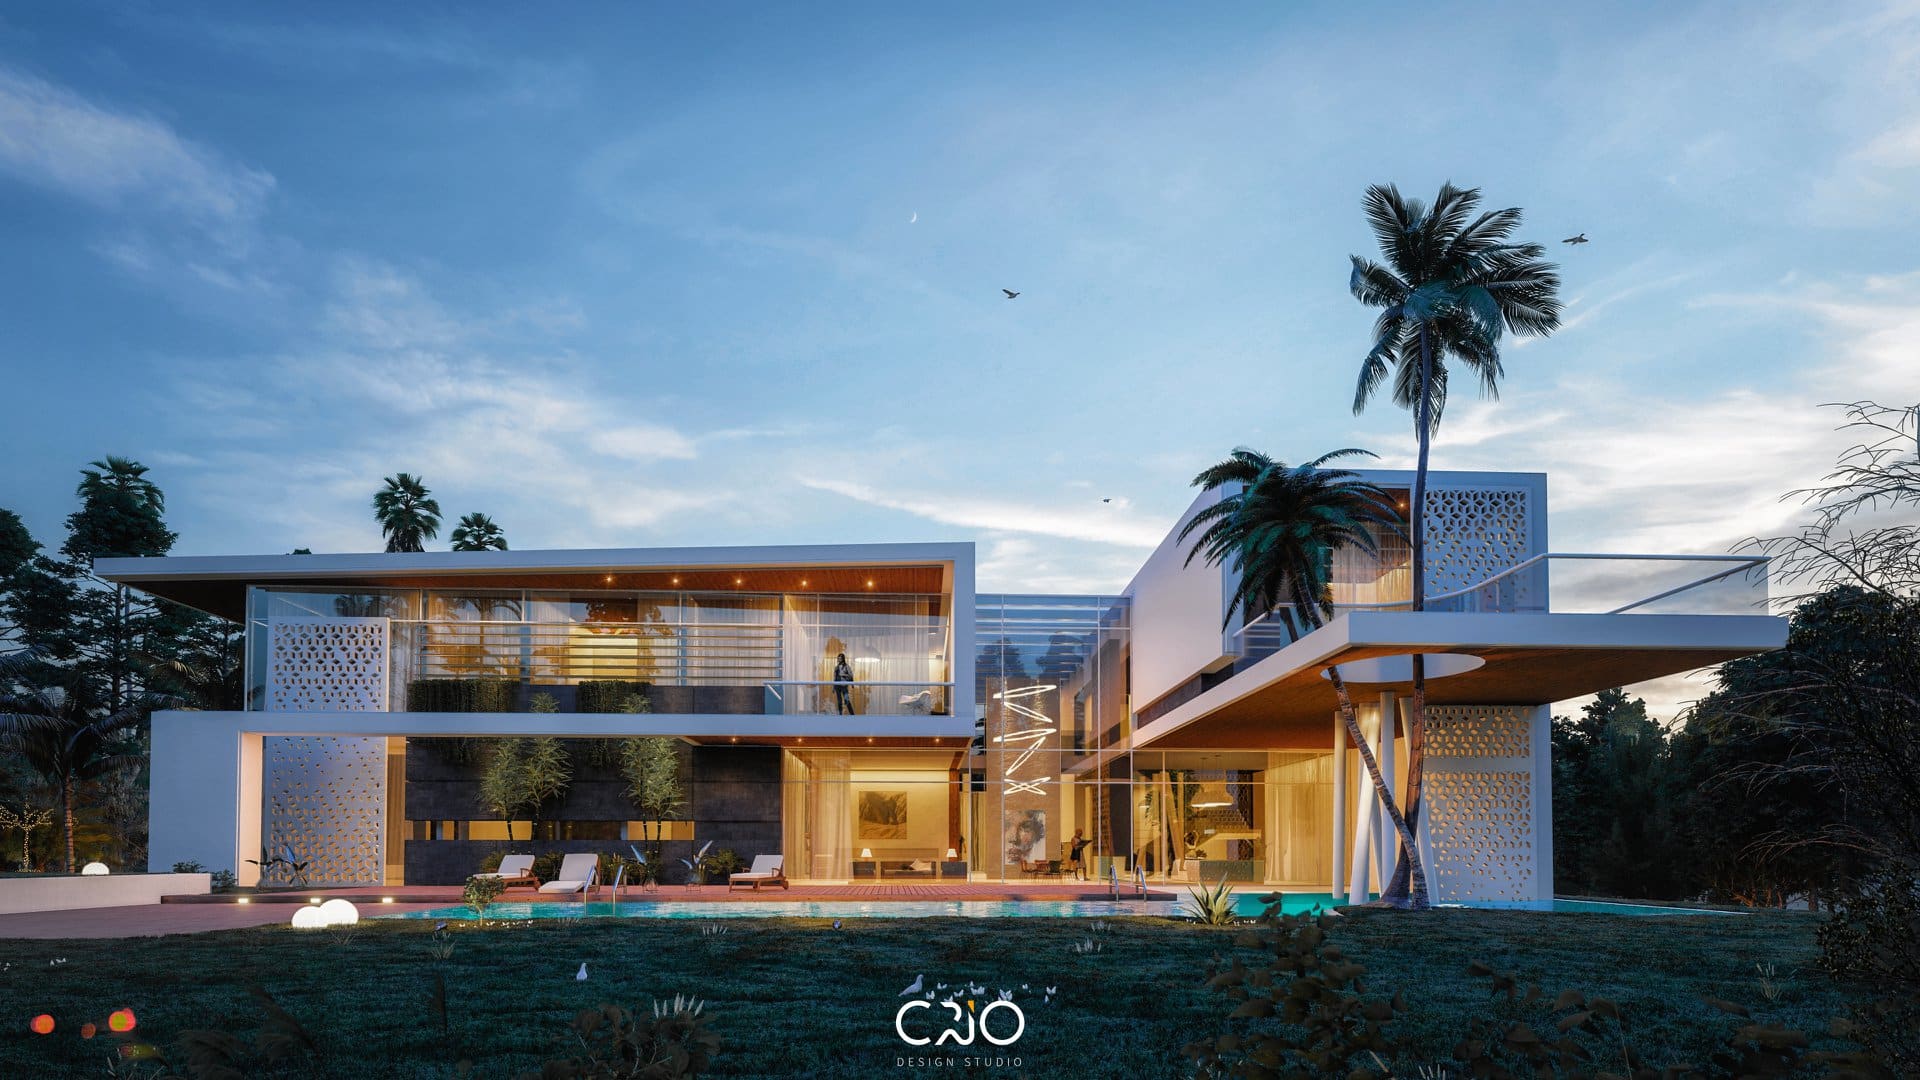
Villa in UAE, rendered in Lumion 9 by CRIO Design Studio in collaboration with Arch. Alaa Hossari.
Step 3: Make materials look beautiful with texture and age
- When rendering, enable “Speedray reflections” and put reflection planes on big, flat surfaces.
- Tweak the glossiness slider of the floor and ceiling materials. In many cases, making your materials a little more reflective will work better than static, non-reflective surfaces.
- Do not use simple digital colors, include plain green, red, blue, purple, yellow. These simple digital colors can look ugly when applied to materials. Consider using a more natural (and more realistic) color palette for the entire scene.
- Sometimes it is better to replace diffuse textures with plain colors (using the top slider in the material editor) and use bumps but without maximal intensity.
- Consider showing a little age and weathering with the “Weathering” slider, located in Lumion’s material editor.
GIF showing various wall materials, many of which were included in the Lumion 9.5 update.
Step 4: Adding effects
- Use the “Color Correction” effect (especially the first slider — Temperature) as it adjusts the color tone of the image and adds dark shadows where necessary.
- Add a little bit of “Chromatic Aberration” and a very tiny value of the “Fish Eye” effect for a small, optical imperfection.
- Add “Sky Light” and “Hyperlight” for still images and videos. For the most impact with Sky Light, turn the Sky Light render quality to ultra (which also means “ultra-slow render speeds”).
- Use the “Sharpness” effect and set the slider to a low value to make the picture look a bit more ‘flat,’ as if were printed on a piece of paper.
- “Depth-of-Field” (DOF) is really useful for narrow camera angles. Generally, you shouldn’t use this effect if you have wide camera angles.
- Always add reflections to water and glass planes.
Step 5: Extra details – every single shot needs them!
- Furniture is very important for interiors and exteriors. Select and add furniture models from the Lumion object library and fill out some empty spaces. The idea is to make the spaces look “lived-in,” where you show how people might use a building, home, public space, etc.
- Cars are really effective models when forming the “border areas” of a still render or a movie frame. Try to avoid having cars in the center of your composition.
- By including people models in your render, you can easily show your audience how you’ve envisioned the relationship between people and a building design. Nevertheless, make sure that your people don’t dominate the render. Their faces should not be too visible so that you don’t distract viewers from the model design. Using silhouettes from the library is a good way to achieve this neutrality with the scene’s people models.
- You can effectively create picture borders and backgrounds with trees and plants from the content library.
- Remember that the background of your scene has a huge impact on the look of your building design. Even if the background is blurry, having the feeling of a real city or forest in the background can enhance the realism of the scene while making the entire render easier for the viewer to understand and digest.
- While the “Real Skies” are beautiful and realistic, they can distract the viewer from the building in some cases. If you feel that the skies are distracting, you have a couple options. For one, you can use one of the “clear” Real Skies or you can add the Sky and Clouds effect and turn up the “cloud softness” slider to blur the clouds. Another option is to turn off any cloud effect and adjust the “clouds” slider in Lumion’s Build Mode to create a distraction-free, clear sky. Below, you can find a picture showing the difference between “no clouds” in Lumion and the clear Real Skies.

Related Posts

-
AME Group Success Story
AME Group (AME) is a Canadian mechanical consulting engineering firm delivering complex building design projects across multiple offices. With many project teams working concurrently, consistency in standards, ...
-
WHAT’S NEW IN REVIT ARCHITECTURE 2024.1
BY: Mahsan Omid The latest version of Autodesk Revit (2024.1) is just out! Soon after the last release of version 2024 in April this year, Revit 24.1 continues to promote some of the most intriguing and much ...
-
Flow and Pressure Drop Calculations Available in MEP Fabrication Elements
Have you noticed in Revit you have to choose between ducting and piping that supports flow propagation OR ductwork that is modelled for the intent of fabrication? In the 2024 release of Revit, Autodesk has made ...

- Accruent
- Advanced Manufacturing
- Architecture
- Architecture
- Architecture - Blog
- Assembly Line Automation
- AutoCAD
- Autodesk
- Autodesk Construction Cloud
- Automotive
- BIM
- Blog
- Blog Posts
- Building Design & Engineering Services
- Building Engineering
- Building Engineering - Blog
- Building Product & Fabrication
- CAD
- CAM, CNC & Machining
- Civil 3D
- Civil Infrastructure
- Civil Infrastructure & GIS Services
- Civil, Survey & GIS
- CNC Machining Services
- Construction
- Construction
- Construction Project Lifecycle
- Consulting Services
- Consumer Products
- CPQ & Aftermarket
- CTC Software
- Data Management
- Digital Transformation
- Energy & Utilities
- Engineering
- Engineering
- General
- Government & Public Sector
- Industrial Machinery
- Industries
- Industry
- Industry Topics
- Infrastructure
- Inventor
- KnowledgeSmart
- Manufacturing
- Mining
- News
- Pinnacle Series
- PLM
- PLM & PDM
- Product Lifecycle Management
- Revit
- Sales and Aftermarket for Manufacturers
- Simulation & Analysis
- Software & Technology
- Software Development
- Thought Leadership
- Tips & Tricks
- Visualization
- Visualization & Reality Capture Services