fbpx
  • Previews… More like Pro-views: Professional Revit Family Previews the Easy Way Using the Free Family Preview Generator

    When you are looking at inserting a family, you will want to get the most amount of information about the family file in the shortest amount of time. Without tools like HIVE you are limited to 2 sources of information, the name of the family and the preview image.

    Figure 1. Multiple preview directions in the Door Family Folder on my computer

    You can control the family naming convention for your company, so why not do the same with the preview image.

    Do you know how the preview image for a Revit family is defined? Its very simple, it’s defined in the File Save Options for the family:

    Figure 2. Setting the thumbnail manually

    The default in the Generic Model Template is that the Active view/sheet is used for the Thumbnail. This means that anytime you save the file you need to make sure that the view is setup for the presentation you want to see, this takes time and if most often overlooked.

    The Family Preview Manager from CTC enables you to control the preview image for multiple files:

    Figure 3. Free tools have the lighter tool image

    It is also one of the Free tools within the CTC BIM Manager Suite.

    Settings for the tool are found within the Options.

    There are general settings for things like whether to create backup files as well as which item should be hidden, for example, text and reference planes.

    Then there are Appearance settings and here you can select the View direction, Style, Detail level and more. So here you can define that it will be in the Realistic graphic style from the 3D Left Front Top view with the Fine Detail level. You can define the Default Appearance which will be for any categories that do not have an Appearance Template defined.

    Appearance Templates are then used for any catalogs that will not use the Default Appearance, for example Tag categories would be best saved in a Plan View rather than a 3D Isometric view.To use an appearance template, setup the template then assign categories to it. Note that you can assign templates for different hosting methods of families, this is important when you think of the orientation of content when face or wall based.

    You can select between the Active Family Document or multiple family files with the Document Batch option, however, Active Family Document will of course require that you have a family as the current open file.

    Once you have selected the files to be processed you will have the option to overwrite the family or save to a new location, I recommend using the save to new location when you are testing the tool, once you are comfortable with the results then use the Overwrite Family option.

    The end result of this tool? Consistency in your family library, all with a free tool from CTC, here is the link to download the tool:

    https://www.ctcsoftware.com/bim-manager-suite-trial/

    Wrangle that Sheet: Making Revit Sheets Layout Easily with Free Tools from the BIM Project Suite

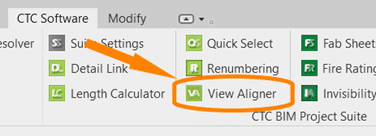
    The CTC BIM Project Suite is geared towards users doing the project work, the included tools aim to make everyday project work easier and more efficient that using Revit tools alone. There are 5 free tools accessed from the ribbon while working in Revit, as well as Revit Properties which is access from the File Explorer to allow you access to Revit file properties, such as the Revit version. The paid version of the Project Suite has an additional 13 tools to add to the Revit workflow. The 2022 release of CTC BIM Project Suite saw the addition of a new free tool, View Aligner.

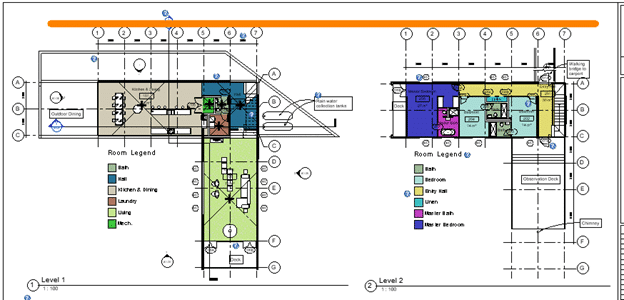
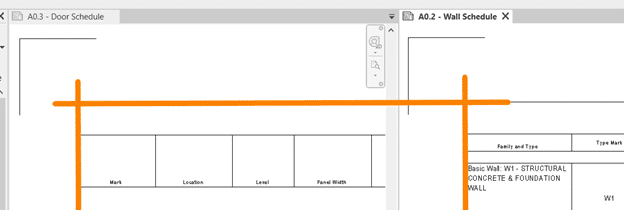
    This tool allows you to select any view on a sheet and align the other views to it based on your project needs. The greatest advantage to the View Aligner tool is that it works across sheets.

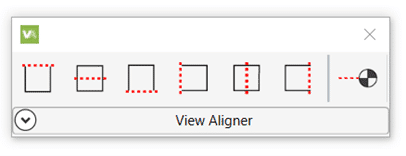
    When selected from the tools on the ribbon the floating tool bar appears and can be repositioned to a convenient location.

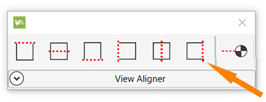
    You have the option of 7 alignments, based on the crop boundary of the views. You can align by each edge; top, bottom, left or right, by either horizontal or vertical centerlines, or by levels.

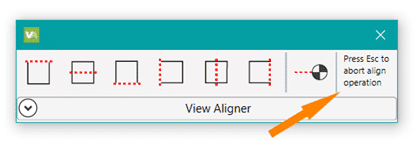
    Upon selection of the desired alignment, instructions for ending the operation appear at the end of the toolbar.

    If you click back on the toolbar before pressing Esc you will need to click back into the view (so the toolbar goes white again) before you can press Esc to exit.


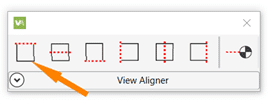
    Align Horizontally by Top Edge

    • Select the Align Horizontally by Top Edge icon.
    • Select the view with the position you want to align to.
    • Every view you click will now align horizontally top edge to top edge of the crop region.
    • Press Esc to complete the operation.

    To keep crop regions the same size for all plan views, use a scope box to control the edges.

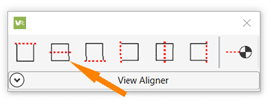
    Align Horizontally by Centerline

    • Select the Align Horizontally by Centerline icon.
    • Select the view with the position you want to align to.
    • Every view you click will now align horizontally centerline to centerline of the crop region.
    • Press Esc to complete the operation.

    For details that don’t show the crop region try using centerlines to get the massing relatively aligned then adjust view names for a nice symmetrical look.

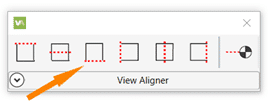
    Align Horizontally by Bottom Edge

    • Select the Align Horizontally by Bottom Edge icon.
    • Select the view with the position you want to align to.
    • Every view you click will now align horizontally bottom edge to bottom edge of the crop region.
    • Press Esc to complete the operation.

    Align the bottom of images to help determine the spacing for other elements on the sheet.


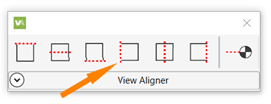
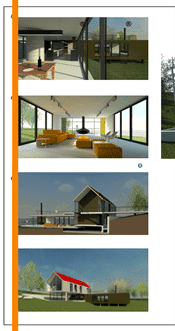
    Align Vertically by Left Edge

    • Select the Align Vertically by Left Edge icon.
    • Select the view with the position you want to align to.
    • Every view you click will now align Vertically left edge to left edge of the crop region.
    • Press Esc to complete the operation.

    Align images along the edge of a page for a nice crisp line.


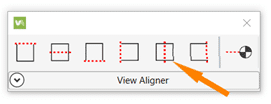
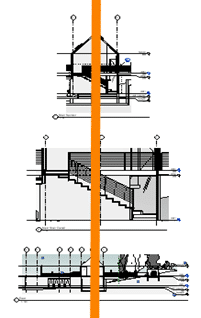
    Align Vertically by Centerline

    • Select the Align Vertically by Centerline icon.
    • Select the view with the position you want to align to.
    • Every view you click will now align vertically centerline to centerline of the crop region.
    • Press Esc to complete the operation.

    Vertical alignment by centerline works best with the unrelated views that Revit can’t snap alignment to.


    Align Vertically by Right Edge

    • Select the Align Vertically by Right Edge icon.
    • Select the view with the position you want to align to.
    • Every view you click will now align Vertically right edge to right edge of the crop region.
    • Press Esc to complete the operation.

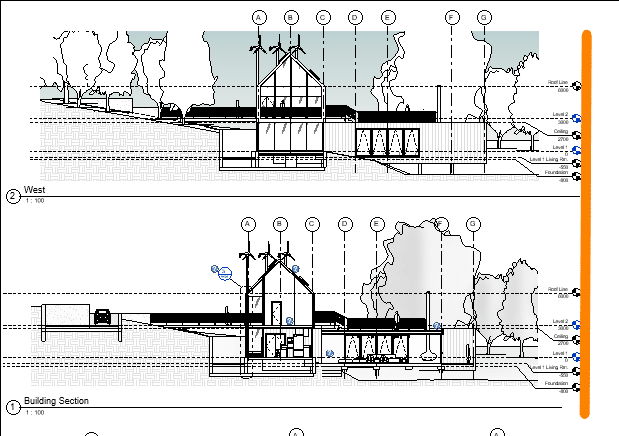
    Using a right edge alignment (or left) for elevations results in a cohesive look when grid bulbs for all views are aligned to the same side.


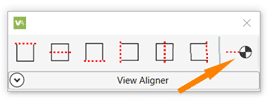
    Align By Levels

    • Select the Align by Levels icon.
    • Select the view with the position you want to align to.
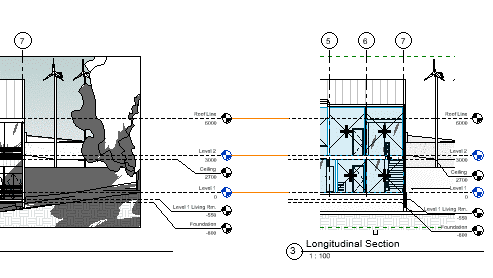
    • Every view you click will now align by levels.
    • Press Esc to complete the operation.

    To use this alignment the scale of the views must be the same.


    TIPS:

    • Use the View Alignment tool to align ‘like’ items.
    • Assign a scope box to the crop regions to make alignment quicker.
    • Open each sheet you will be working on before starting the tool to use alignment across the sheets. You cannot access the project browser once the tool is active. Use the view tabs to flip between sheets to align the views horizontal across each sheet, then do the same to align vertically.

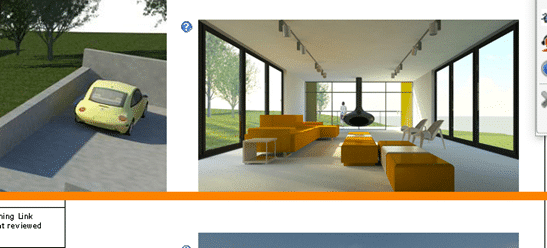
    • Alignment works best on views of the same type. As seen below when you align an image and a schedule the space between visible content and the outermost edge of the crop boundary are not the same so despite being aligned the appear “off”.

    Get your 2022 release of CTC BIM Project Suite and try the FREE View Aligner tool on your next project. Reach out to us at info@solidcad.ca