• Canadian Flag Proudly Canadian Owned and Operated
  • The Multi Space Dimension of Autodesk Inventor

    Relativity says we live in four dimensions. String theory says it is 10. What are ‘dimensions’ and how do they affect reality?

    With three axes, we can describe forms in three-dimensional space. And Every point is uniquely identified by three coordinates. A Sphere can be described as:  x2 + y2 + z2 = 1.

    So, a sphere that sit in four-dimensional space can be legitimately described as:

    x2 + y2 + z2 + p2 = 1

    Our human brain can only receive and interpret a 3D world. When it comes to a 4, 5 or more dimension, our Engineering drafting become completely useless. Here are some examples I did with Inventor using its solid bodies Sweep feature:

    1. Colliding 3 dimensions to a common point, Inventor created an object that can be both sphere/cube. Is it a sphere or a cube?

    2.  Inventor can also be used to create a Hypercube frame in which our Engineering Standard CAN NOT present it on a drafting paper.

    These are 6 views of the same object, but why the 3 isometric views are completely different? Inventor showed that the shadow of 4D cube frame is the 3D cube.

    3.  Turn 3D cube frame into a 4D spiral ramp, we can see how De Vinci created a staircase that have the same entrance, but King, Queen, servants, and chauffeurs can never run into each other 😊

    4. My Klein Flower Vase is a 4D object of a 3D möbius loop.

    The log was inspired after watching this fantastic video:  Things to See and Hear in the Fourth Dimension. A great and simple mathematic lecture where it shows how four-dimensional shapes appear in a 3D world in a hands-on talk. Another great reading is this Radical dimensions

    Collaborating with Bluebeam Studio

    What is Studio?

    Let’s start from here. Most users are not familiar with Bluebeam Studio although it is becoming more and more useful and popular these days. So, let’s dig into to it and take a look at both Studio Session and Studio Project.

    Studio Session:

    A live collaboration tool that allows you to share and annotate your plan with your team with some restriction.

    Studio Project:

    A document management system that allows you to host, share and manage your document with an organized process and management tools.

    So basically, you host your documents in Studio Project and use them in Studio Session to mark them up with your team. Not that complicated, eh?

    Now, let’s jump in to see how to launch a Session and how to set your Project.

    Creating a Session:

    Go to Studio Icon –> Select Session

    Click on + and select New Session or Join Session

    If you decide to join an existing session, enter the Studio ID of this session and click OK

    If you create a new Session, a dialog box will appear

    From there, name your session, and upload one or multiple plans you need to work with.

    Then, in Options, select what you allow your user to do with this (these) document(s) or even if you want, allowing them to upload documents. You can even set an expiration date and hour for the session.

    Afterwards, your session will launch and this dialog box will appear

    It will be here where you will need to invite users to join in your session. You can even add a message to give them a bit of a context.

    If you are using Studio Project and already set Users groups, you can use them in Studio Session (even if the document is not hosted within project).

    Last option, the Address Book. You can use your own address book to invite people.

    Now your session is started, make sure to work on the right document. To check that, you need to have this icon  before the name of your document in the tab like the picture below.

    From there, you will be able to annotate and communicate within Studio Session. However, remember Sessions do not allow for changes to a PDF’s “core content ». It means you can place Markups and delete your own notes, but editing other attendee’s Markups is not allowed. You can think of this as, you are allowed to do “Surface Level” (adding a markup, editing a markup you added in the Session) changes to the PDF, but anything that goes deeper (form fields, adding pages) is not allowed. This is all to maintain the integrity of the PDF while multiple users are all collaborating in real time.
    Note about sessions: you can be invited or initiate multiple session. To leave a session, click on the icon   and select the session to go back in it.

    Finishing the session:

    You finalized your revision with your team and are ready to go so now, it’s time to finish your session to.

    To do so, click on the icon   (#1) and a Dialog box will open. From there, you can overwrite the existing plan or save as new version of your plan.

    Also, don’t forget to generate the report of the session. It will keep all information that have been produced in this session (from markups to messages written in the chat)

    FAQ’s:

    What happens if I have a new version?

    Close the actual session, export all markups (or only the ones you want to bring to the next session) and then re-upload the document in the session.

    Can I erase markups of other users?

    No. It is part of the process to not be able to erase other user’s markups. Remember, it’s also a tool to help you track every notes and changes on plans.

    You will be able to erase markups outside of the session. But there will always be a trace within the Session log.

    What’s new in Inventor 2021

    Inventor 2021 comes with many visual changes that continue to modernize and streamline the 3d modeling experience. Several productivity enhancements and one fairly major AnyCAD update round out this year’s release and make it a valuable upgrade for users of any level.

    Here are some of the highlights;

    Dark Theme:

    The most notable visual update is the introduction of Inventor’s Dark Theme. This is available as a setting in the Application Options under the Colors Tab and follows the trend of many other applications as visual ergonomics becomes a more prevalent theme (so to speak!) among tech users. …Also; it also just looks better!

    It’s worth mentioning however, that they haven’t yet got around to making everything follow the Dark Theme. The Home Screen, file transaction, and project dialog boxes are a few examples of items that didn’t quite make it into this release, which is presumably why this is being tagged as “pre-release”. So one can only assume they’re still ticking away at all the different elements. Definitely a good start anyhow.

    Dock-able Property Panels:

    More commands have now been added to the list utilizing this new design first introduced in 2020. Along with Bend, Coil, Combine, Copy, Decal and a few others; Frame Generator and its associated end treatment commands now follow suit. Frequent FG users will likely need a few seconds to re-acquaint themselves with the new interface but once familiar, the streamlined workflow is sure to be a welcome change.

    As with the Dark Theme update, there are a few stragglers out there like the Fillet and Chamfer commands that will still have to wait their turn for a new look.

    File Naming Defaults:

    Mirror & Copy have now been added to the list, allowing users not only to control how these auto-generated files are named on creation, but also use attributes for their standard naming practices.
    As an added update to all three file naming default tabs, users can now manipulate the browser node to display as the filename or use a combination of the available attributes, allowing for some much needed control over the model browser organization.

    Frame Generator:

    In addition to the dialog box face-lift, Frame Generator has had another few minor but noteworthy updates such as:

    • A new Category filter in the dialog box allows the user to narrow down the available options by general shape, making profile selection much more efficient
    • When reusing a frame member users can now choose any previously reused member (rather than having to select the original source)
    • The Trim & Extend tool now supports using a curved face as termination
    • The Notch command now includes two additional custom profiles; Custom C and Custom T
    • Trim to Frame is now more appropriately named Corner Joint

    Revit AnyCAD:

    One of the most noteworthy updates for users who find themselves going back and forth between Revit and Inventor, is the interoperability between the two programs. Revit files can now be inserted associatively into an Inventor Assembly, maintaining a link to the native Revit data. This means changes made in Revit will now update in Inventor simply by clicking the update button.

    Drawing Workflow:

    When creating pre-configured sheet formats for standardized drawings, more options and functionality have been added to further reduce time spent downstream. You can now retain edge settings (ie. edge display) as well as check the “Fit views to sheet” option to automatically scale your views on creation. In addition, flat patterns in the sheet metal environment and parts lists for assemblies are now supported.
    As an added bonus for those of you who noticed it had disappeared; the Measure tool has made a comeback in 2021!

    The full details on these and all other 2021 updates can be found Here.

    The new Rotary machining strategy in Fusion 360 CAM is a thing of beauty!

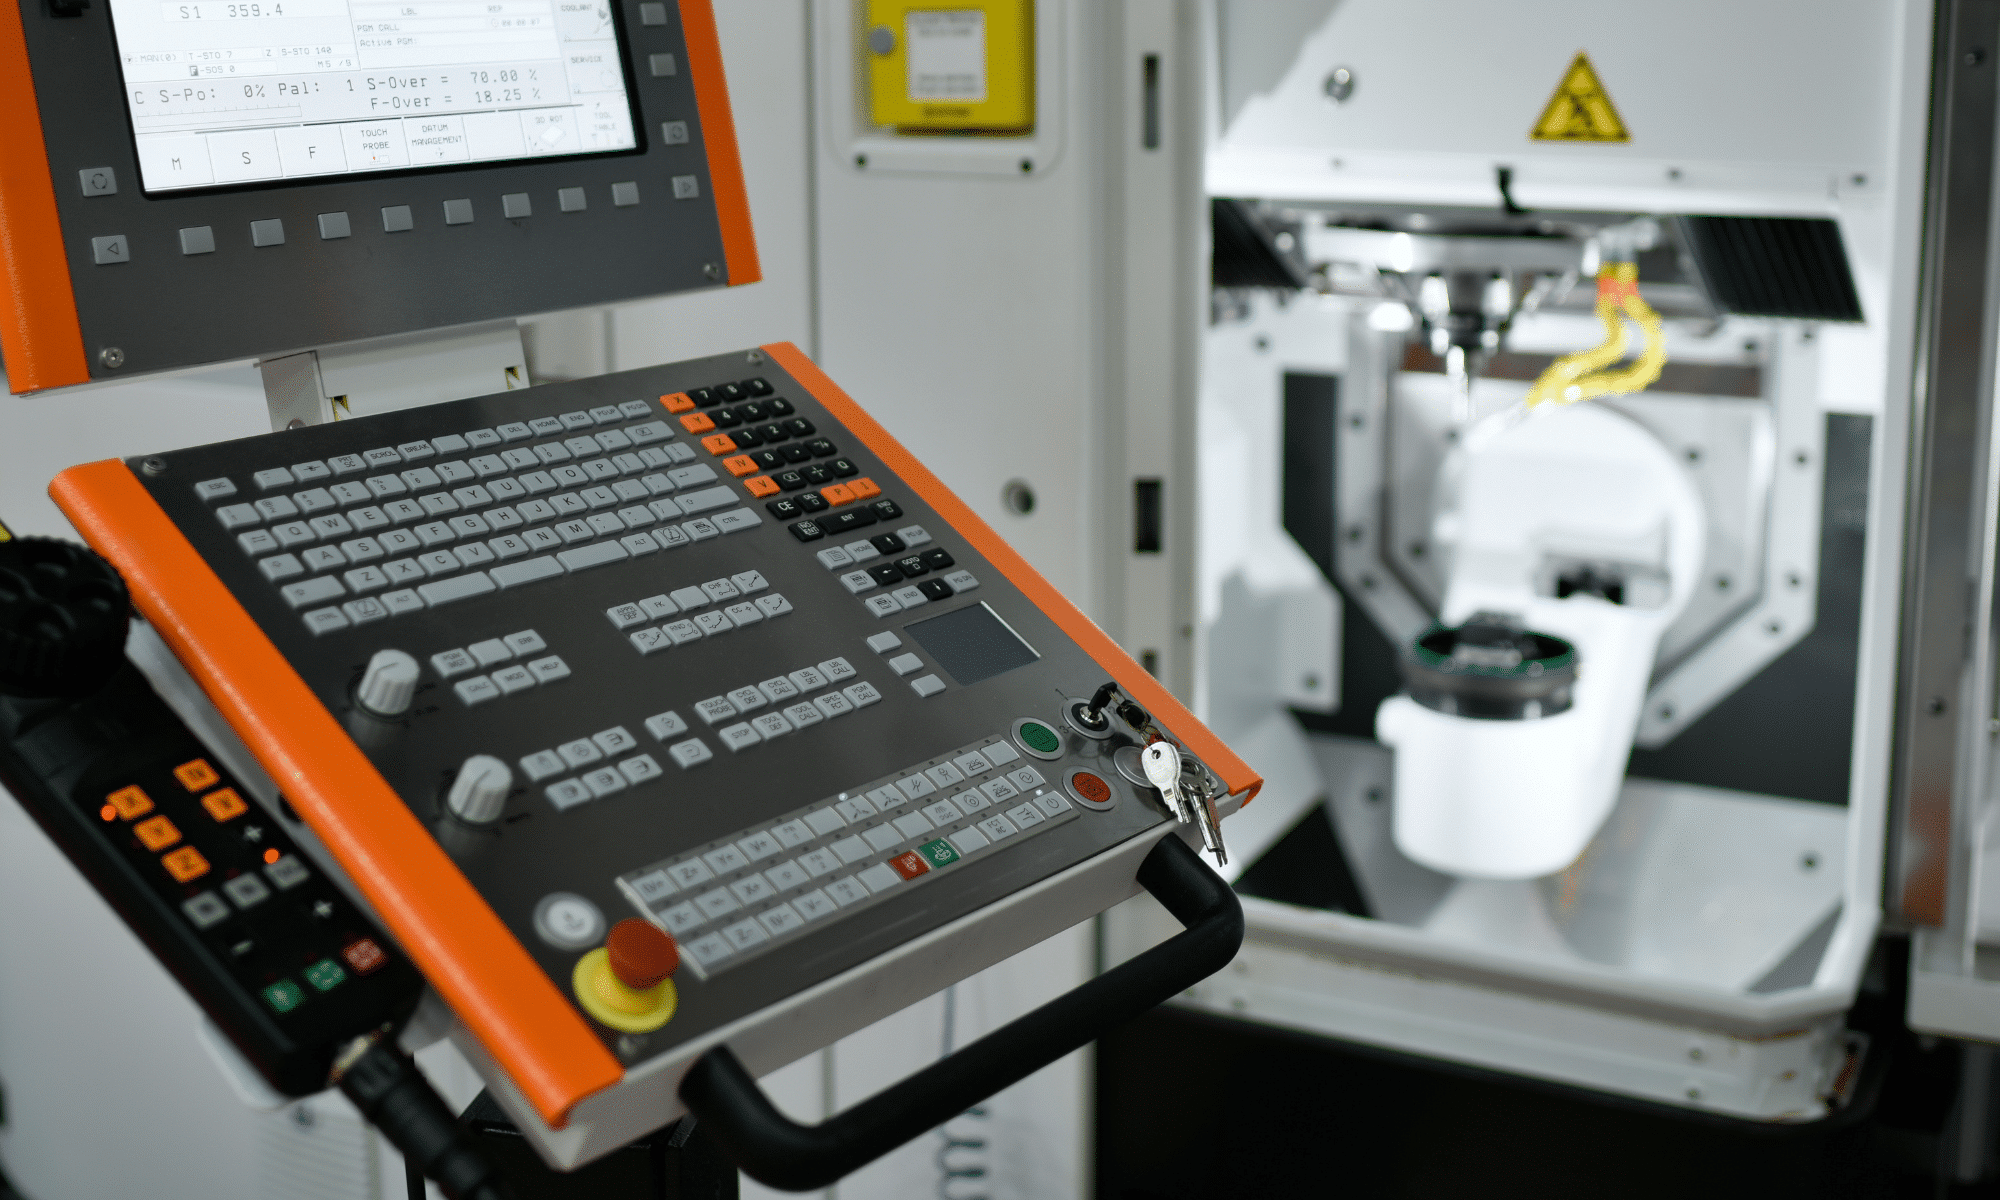
    Last month, I wrote that a lot of improvements and new features had recently been built into Fusion CAM. One of these is the Rotary multi-axis 3D milling strategy, which has been a very long time in coming. What this is, is a strategy for mills or mill-turns that makes use of a rotary axis to 3D-machine around a part with a ball-nose cutter. The cutter is always kept pointed towards the center of rotation. Machining can be performed milling-style, with a back-and-forth toolpath along the axis of rotation and successive incremental steps (stepover) of the rotary. Better yet, machining can be performed turning-style, front-to-back (or top-to-bottom) with constant motion of the rotary and a specified stepdown per revolution. The centerline of the tool can be slightly offset (if your machine allows it) so as to stay off the center of the cutter.

    Well, I can say that the wait has paid off. We recently had a chance to put this new strategy through its paces with the help of our good friends at Dery’s Manufacturing of Regina using their big Nakamura WT-300’s mill-turns. The results were very impressive. We confirmed that using this strategy turning-style is particularly efficient, as it allows to take as big a depth-of-cut as needed and to potentially shape the part in a single pass.

    This new strategy clearly fills an important void. It will be appreciated in a variety of settings, including routers with a 4th axis mounted to the side. And it will be appreciated by users who have struggled in the past with “textured” or “3D” revolved parts, including STL models.

    Rotary is available as part of the “Manufacturing Extension” for Fusion 360, which includes other useful additions such as the very-powerful Steep-and-Shallow 3D strategy, borrowed from the all-mighty Powermill. The Manufacturing Extension costs 125 Cloud Credits ($125 USD) per month to access.

    Like many of the other recently-unveiled goodies, Rotary is unfortunately not available for Inventor CAM. That’s too bad since Rotary is an essential strategy that deserves to be included in the base offering of Fusion CAM, as well as in Inventor CAM and HSMWorks. I encourage you to vote for this on the Inventor IdeaStation. That being said, if you are an Inventor CAM user, your Product Design and Manufacturing Collection gives you access to Fusion. If you are an HSMWorks user, you as well now have free access to Fusion 360. And Autodesk has been working very hard of late to improve data exchange between Fusion and both Inventor and SolidWorks, in order to allow you to work with Fusion in parallel with these legacy platforms. Indeed, expect that later this year, Fusion will be able to retrieve CAM toolpaths saved inside an Inventor file.

    Civil 3D 2020.4 Update

    Autodesk has released the Civil 3D 2020.4 update.  Use the Desktop App to install it.  Here are the Autodesk release notes for this new update.

    Notables:

    • New SYSVAR “DataShortcutsSourceCheck” to change the behavior of warnings when saving to a mapped drive on a Nasuni Edge Appliance.
    • Improved performance and stability with various features such as:
      • Unloaded XREFs.
      • Corridors.
      • Data shortcuts.
      • Save command.
      • Catchments.
      • Printing multiple sheets.

    What’s new in turning? A lot!

    I mentioned in my last entry that Turning saw some important (and overdue) improvements of late. Indeed, you may have noticed that the Turning/Profiling function has been broken into a dedicated roughing strategy and a dedicated finishing strategy, for much more control and to allow for output of canned cycles. This happened around the middle of last year for Fusion, and a bit later for Inventor CAM.

    What you may not have noticed, however, is a myriad of small but very-welcome improvements everywhere else too. It’s a long list, and I refer you to Marti Deans’ excellent coverage here: https://www.autodesk.com/products/fusion-360/blog/turning-updates-fusion-360/

    Also, as I said in my last post, this is apparently just the tip of the iceberg. Turning experts have joined the Fusion development team and are hard at work implementing more functionality and innovative technologies (like Adaptive Turning). I hope to see a lot of the power of PartMaker ported to Fusion CAM!

    Installed fonts don’t appear in Bluebeam Revu | Revu for Windows

    This article was originally published by Bluebeam, Inc. in the Knowledge Base.

    Problem

    A font that’s installed on your computer doesn’t appear in Revu.

    Causes

    The font type isn’t compatible with Revu

    Revu supports TrueType (.ttf) and OpenType (.otf) fonts; any other font type isn’t compatible.

    The font file isn’t saved to the correct location

    Revu uses fonts that are saved to the following folder: %SystemRoot%\fonts. If a font doesn’t appear in Revu, it may not be saved to the correct location.

    Solution

    Save the font file to the correct location

    Try this solution after confirming the font type is TrueType or OpenType. You may need administrator privileges on your computer to complete these steps.

    1. Close Revu.
    2. Open the font file location in File Explorer.
    3. Right-click the file and select Install for all users.
      This saves the font file to the the correct folder.
    4. Open Revu.

    The font should now appear in the Font Toolbar.

    Tons of new goodies for Fusion 360 CAM

    Since I last wrote here, there have been big, big changes to Fusion CAM (excuse me: “Fusion Manufacturing”). These changes range from completely new (and it needs to be said, very useful) machining strategies, to significant progress in the implementation of probing technology, to new love for turning, and to subtle but much-appreciated improvements to the user-interface.

    The biggest changes are contained within the Manufacturing Extension, a new subscription add-on for Fusion CAM. The idea is that while Fusion CAM (and Inventor CAM and HSMWorks, for that matter) is a modern and very competent CNC programming solution that can make short work of most jobs at a VERY attractive price, there are some customers that require still more power and that are willing to pay a little extra for it. Mold makers are a good example. In the past, the limited multi-axis toolpaths of Fusion CAM did not quite meet their needs. With the new Steep-and-Shallow strategy as well as toolpath trimming / direct editing (both technologies gifted from PowerMill), that has all changed. The Manufacturing Extension also opens the door to surface inspection and on-machine verification, a very hot button for anyone trying to increase efficiencies and get an advantage. Throw in automatic hole recognition technology (thanks, FeatureCAM) and a new Rotary multi-axis 3D milling strategy (this one is all Autodesk), and there is something for everybody. How much for these new goodies? 125 Cloud Credits ($125 USD) per month, month-to-month.

    And those other improvements? How about a new tool library interface? The old one definitely was a little clunky. And for those of you who make extensive use of user-templates to capture their best practices (why isn’t everybody?), how about a new interface that will allow you to sort and better manage everything?

    I haven’t talked about turning yet… It can be said that while Fusion CAM  / HSM CAM has traditionally been a competent turning solution, most of the R&D over the years has gone into making it a premier milling solution. But a dedicated turning team has now been brought into the development team, and turning is now getting the love it has always deserved. In my next blog, I’ll list all the recent changes (it’s a very long list of small but significant changes). What’s more, we are promised many more such improvements throughout the year, including something called Adaptive Turning that sounds very promising.

    Please note that the Manufacturing Extension is free to use right now through June 2020. So, by all means, give it a spin! Several of the other new features are available through the preview mode: just activate what you want under Preview Features in your Preferences; everything is quite stable.

    Now, it is quite apparent that Autodesk is turning Fusion into its premier CAM solution. That’s great news and we welcome all the improvements to an already-great CAM. However, if you are a user of Inventor CAM (or HSMWorks), don’t hold your breath for things like Steep-and-Shallow. Instead, Autodesk would rather you fire up the Fusion 360 entitlement included with your CAM. And to make it easier to use two platforms in parallel, recent changes now allow Fusion to play extremely well with Inventor and even SolidWorks.

    SolidCAD announces a strategic alliance with Magestic Technologies

    TORONTO, ON, May 19, 2020 – Today, SolidCAD, a leading technology and professional services company in Canada announces its newest partnership with Magestic Technologies, an Autodesk Authorized Reseller and Developer. As a leader in the competitive manufacturing landscape, Magestic Technologies focuses on providing the most advanced digital manufacturing solutions leveraging technologies in Genetics, Machine Learning, and AI to improve manufacturing processes and efficiency.

    With over 30 years experience, Magestic Technologies has been working closely with one of the world’s largest technology innovators, Autodesk, to develop digital manufacturing solutions that improve and automate the aerospace, energy, transportation and automotive fabrication processes. Through their various solutions, including TruNest, TruComposites and SE Nesting, manufacturing firms can better collaborate, optimize and integrate real-time production data to streamline design and manufacturing workflows.

    “Our partnership with SolidCAD provides a great opportunity to bring to the Canadian market innovative and cost saving solutions leveraging the technologies and expertise of both companies. Our mutual commitment to customer success, along with our vast experience in seamless design to manufacturing workflows, ensures solutions required to be successful in today’s competitive manufacturing environment,” states Greg Mac Lean, President, Magestic Technologies.

    “At SolidCAD, we pride ourselves in helping customers increase their profitability and gain a competitive edge through the streamlining of their engineering, manufacturing and data management processes,” states Mark Gartner, Director of Manufacturing at SolidCAD. “We are very excited to have this partnership with a best-in-class manufacturing solutions provider. At SolidCAD were always looking at additional ways to help our customers get to the next level of productivity improvement. This is precisely why we have partnered with the experts at Magestic Technologies.”

    SolidCAD and Magestic Technologies will be working together to provide consulting, implementation and support services to Canadian manufacturing firms. To learn more about Magestic Technologies’ best-in-class solutions, join SolidCAD for a webinar and demo to view their products firsthand on Tuesday, June 2, 2020 at 1:00 PM ET. To register, click here.

    About Magestic Technologies

    Magestic Technologies was founded on the same principles as its founder’s former company, Magestic Systems, and that is to provide the most advanced manufacturing solutions for process and efficiency improvements. Our solutions are built on over 30 years of experience implementing sophisticated solutions leveraging some of the most innovative technologies in Genetics, Machine Learning, and AI.

    https://magestictech.com/

    CTC 2021 Revit Product Updates!

    CTC Software was actively preparing to release updates to our AEC tools for Revit 2021. This release took place on May 4th and affected all of our AEC offerings. HIVE has undergone a massive update, streamlining all aspects of user interaction and management. Our software suites have all been built to work on the new Autodesk 2021 platforms, and the SuperDoor Configurator and Casework Configurator content packs have been upgraded for 2021 as well.  All of these tools will continue to support the 2017 versions of Autodesk products and newer, so they will also fit into your workflows for any version from the last 4 years.  Additionally, the Mechanical Electrical Plumbing Productivity Pack content files have been upgraded to 2019, containing hundreds of updated families and a lot of new features and improved workflows.  These tools are purpose-built to support your entire workflow from beginning to end, putting the right tools in the right hands so all team members gain efficiencies every day.

    Contact CTC or one of our partners for more information about the 2021 updates to our tools!

    HIVE

    HIVE specifically has had major changes to the user interface of the content management system (CMS).  Many of you have provided feedback after extensively using the currently released HIVE system.  We listened!  The new HIVE has a major facelift, and the HIVE management portal on the web has been overhauled to make management easier, and to provide you with analytics for organization-wide use of CTC tools, project performance metrics and insights into how your teams are searching for content in the CMS.  As always, we strive to develop our tools alongside you, so you and your teams can work efficiently.  Feel free to share your experiences and ideas for how we can continue to improve.

    The other productivity tools in the software suites are all updated to work on the Autodesk 2021 platforms as well. This year we have decided to make sure that we support 5 version of Autodesk products, since we know many of our clients have projects with long lifecycles.  While Autodesk may not officially support 2017, we felt that we should continue to make our tools available for that release since some of you have let us know that your projects are still being managed in that version.  This new 2021 release of our tools will have the ability to communicate with the HIVE management portal so you can have a better understanding of the return on your investment this next year.

    CTC has 3 major Revit-based content packs.  The two that install into the ribbon are the SuperDoor Configurator and the Casework Configurator.  These, like our other suites, will be supported on Revit 2017-2021.  The other content pack, the Mechanical Electrical Plumbing Productivity Pack (MEPPP), has been heavily updated in its latest version. It will be supported on Revit 2019-2021 with the actual content delivered in Revit 2019 format.  We made this choice since most of the projects starting fresh in your firms will be on 2019 and later.  We did not see value in building on older versions, as existing projects in production do not see huge benefits in transitioning standards mid-production.  This MEPPP update has seen further standardization of the parameters used to help align our pack with metric users.  The first release will be in Imperial units of measure, but a metric pack will be coming soon.  This release saw heavy formula updates and further removal of unit dependencies.  The lighting fixtures, electrical equipment and mechanical equipment have seen major updates, improving face-based and level-based hosting in a single family, and general ease of use.  Many other categories have been touched as well, to ensure a uniform workflow and general consistent use.

    As always, we encourage you to contact us or our partners for more information on these workflow-improving tools.

    In the United States you can contact Applied Technology Group (ATG) at sales@ATGUSA.com. If you are are based in Canada, please contact:

    Mughees Altaf
    Account Manager — AEC Productivity Tools
    mughees.altaf@solidcad.ca 

    This article was created by CTC Software