• Canadian Flag Proudly Canadian Owned and Operated
  • H.H. Angus & Associates Ltd.

    Success Stories

    H.H. Angus & Associates Ltd.

    HH Angus is an employee-owned, independent consulting firm of engineers, technical specialists and project managers. Together, they create innovative solutions for their clients’ most complex challenges to expand what is possible for a better future.

    Project Profile

    Similar Projects

    Oneira Corporation

    Oneira Corporation, An EPCM* Company, Is A Leading Engineering And Technology Company Providing Industrial Process And Solutions Based in Toronto, Canada, Oneira has more than 30 years of experience working with global leaders in the Specialty Chemical, Chemical, Oil…

    DIALOG

    DIALOG believes that their passion for design should improve the wellbeing of our communities and the environment they share. DIALOG’s multi-disciplinary team of 700 includes architects, interior designers, structural, mechanical and electrical engineers, urban planners,…

    Cumulus Architects Inc.

    Cumulus Architects Inc. is a multidisciplinary architecture and design firm located in Toronto, Ontario. Cumulus is founded on the principles of team-based design and integrated project delivery with the belief design intelligence results from broad…

    Frame Generator End Caps in Inventor 2020

    In the 2020 release of Inventor, the Frame Generator Design Accelerator received a number of minor enhancements as well as one of significance that likely has users asking how they ever lived without it. You can now create and insert end caps to a frame member within Frame Generator.

    Here’s how:

    First; you must have the Custom Content Center Library installed in order to use this feature. Learn how to do that here. Once you have frame members ready for end caps, follow these steps to quickly create and add the components:

    (1) Select “Insert End Cap” on the Frame panel of the Design tab within your assembly;

    (2) Select the end faces of the members you wish to apply end caps to.

    (3) Choose the placement: Inset, or outward

    (4) Choose the profile style: Filleted, Chamfered, or Sharp corners

    (5) Enter the Chamfer/Fillet size (if applicable), Thickness, Inset (or Offset) distance & Rotation angle

    (6) Select the desired part properties, then OK (or “+” to add additional end caps for different tube profiles without exiting the property panel)

    (7) The end caps are created as members of the frame assembly and the file naming can be controlled in the same way (using “File Naming Defaults” in Application Options). Inventor recognizes identical members upon creation and reuses the end cap files where possible, rather than duplicating them.

    End caps can be edited or reused like frame members, using the right click menu in the model browser (“Edit with Frame Generator”)

    Finally, plan and profile sheets that update after design changes

    Plan production tools in Civil 3D are great for creating plan and profile sheets, but what about when the inevitable design changes come and you need to update your sheets? You either update them manually or recreate all new sheets. With CTC Software’s Sheet Generator, you can create plan and profile sheets that update after designs change, including refreshing of viewports, north arrows, matchlines, sheet names and numbers, sheet set data, and more. Sheet Generator provides better control on Profile Views, more flexible sheet management workflows, and easily dovetails with your company standards.

    For more click here

    HSM CAM Tips and Tricks: Equation-Driven Parameters

    I will be publishing quick Tips and Tricks regularly to help make you more productive and to capture your best practices.

    One of my favorite such tricks is using “smart fields” or equation-driven parameters.

    Virtually all fields in the CAM interface that accept numerical values can also accept equations that reference constants or reference other parameters/fields. Right-clicking on the field and selecting “Edit Expression” brings up an input box wherein you can enter a constant value or build at equation. Once you are done, right-click again and select “Make Default” so that this change is remembered the next time you use this machining strategy again.

    An example where a constant might make sense is plunge feed rate for operations other than drilling operations. Indeed, this is an approach speed that is largely independent of tool type or size. Perhaps you want this to always be a nice and slow 20 IPM until the program is proven safe. Stock-to-leave is another parameter that could be set to a constant.

    Referencing another parameter introduces more power. For example, several parameters can be made dependant on the cutting feed rate.

    Indeed, you can set the lead-in and lead-out feed rates to vary proportionally with the cutting feed rate. Similarly, the reduced feed rate for inner corners specified under “Feed Optimization” should also vary proportionally with the cutting feed rate defined under “Feed and Speed”. An expression referencing cutting feed rate would look like this:

    (tool_feedCutting * 0.5)

    Several parameters can be made dependent on the tool diameter. Indeed, stepovers and stepdowns are prime candidates, as are lead-in/lead-out segment definitions, spiral entry diameter, and stock-to-leave values. An expression referencing tool diameter would look like this:

    (tool_diameter * 0.5)

    Finally, expressions can contain logic and can combine the two approaches described above.

    For example, stock-to-leave might be controlled by an expression that considers tool diameter, but defaults to a minimum value below a threshold tool diameter.

    (tool_diameter >= (.250in) ? (tool_diameter * .05) : (.010in))

    Expressions can be as complicated as you can make them. They just need to respect JavaScript syntax.

    A complete list of parameters that can be used in expressions is found here: https://airtable.com/shrggXZ4wpuGUiN3w/tblJ9PHav1NwMmqMz/viw09jWqXAR0JmPPM?blocks=hide

    Investing two hours into setting up expressions for various machining strategies can go a long way towards capturing your best practices and automating HSM CAM, resulting in increased programming consistency and decreased programming time.


    Bluebeam: DYNAMIC FILL

    When I sometimes look at some architectural projects, I tell myself that as much as the design is beautiful, the various estimators involved in the project must have pulled their hair out. So, let’s look at this wonderful (but still underused) function of Dynamic Filling.

    Before starting with this tool, we are going to create a surface with Area Measurements tool which we will call Ground surface and which we will save in the toolbox (it is important for the continuation).

    Once our surface has been created, we will finally use Dynamic Fill. To do this, first go to your menu, then in Tools, go to the Measure section and then go to the last Dynamic Fill icon. Or else, type “j” on your keyboard 😊

    It will bring up this menu on your screen

    Now, let’s take an area that is hard to calculate on our plan like this one for example

    Click on the paint bucket   to select it then point with your mouse at the area that must be measured area and keep pressing the right button and you will see like paint pouring into the room

    Once the room is filled, we will choose what we want Bluebeam to calculate by choosing our previously created surface to apply it on the painted area


    Finally, we click on Apply and here we go!

    _______________________________________________________________

    SolidCAD Earns Autodesk Fusion Lifecycle Specialization

    TORONTO, ON, February 11, 2020 – SolidCAD, Canada’s largest Autodesk Platinum Reseller and professional services company, has been awarded the Fusion Lifecycle Specialization allowing them to provide clients with industry leading product lifecycle management (PLM) tools, training and support.  To earn this recognition, Autodesk partners must demonstrate extensive product knowledge including successful implementation, complete all Autodesk’s industry-specific certification exams and develop expertise and skills with the Fusion Lifecycle platform.

    With this new specialization, the SolidCAD team will help address common challenges within the manufacturing industry and provide solutions to optimize collaboration and improve data management across all departments and workflows.  The team will offer consulting and training services to help manufacturing clients automate processes, manage Bills of Materials (BOM), implement a collaborative environment for product changes and generate the ability track product data throughout all revisions and stages.

    Kirk Givens, Director of Americas Channel Sales for Autodesk, stated, “SolidCAD has been and will continue to be a strategic partner to our customers in Canada.  The Fusion Lifecycle Specialization is testament to Autodesk’s confidence and trust in SolidCAD’s ability to help customers navigate the challenges they face every day and thrive in a competitive business environment throughout the manufacturing industry.”

    “At SolidCAD, we pride ourselves in helping customers increase their profitability and gain a competitive edge through streamlining their engineering, manufacturing, and data management processes,” states Mark Gartner, Director of the Manufacturing division at SolidCAD. “Our company has now added Autodesk Fusion Lifecycle to its portfolio of best-in-class solutions, along with a certified team dedicated to the implementation and support of this innovative PLM solution. Specifically tailored for our design and manufacturing customers, Fusion Lifecycle ushers in greater company-wide efficiencies through the integration of our customers business processes.”

    By leveraging Autodesk’s Fusion Lifecycle platform, manufacturing companies in industrial machinery, automotive supplies and consumer products can expect to eliminate bottle necks, collaborate on design and deliver a modern change management tool that can help track and record changes to product designs as they happen.

    To learn more about Fusion Lifecycle, please visit:  https://www.solidcad.ca/products/autodesk-products/product-lifecycle-management/

    For more information, please contact: 

    Mark Gartner
    National Director of Manufacturing
    SolidCAD – A Cansel Company
    E-mail: mark.gartner@solidcad.ca
    Phone:  1.877.438.2231 Ext. 107

    Create custom legends and QTO with Data Wizard

    Tabling, legend creation and QTO workflows leave a lot to be desired in Civil 3D, forcing to use many different subpar tools, or worse, performing the work manually. With Data Wizard you can scan any number of drawings for AutoCAD and Civil 3D objects to generate legends, tables, QTOs, and more, all to company standards, and all automatically. When drawings change, refresh tables to automatically incorporate updates. Save out templates for quick recreation of custom tables and legends.


    For more click here

    Interested in tweaking an HSM (Inventor CAM, Fusion CAM, HSMWorks) post-processor yourself?

    The “SolidCAD Universal FANUC” post processor (free on our website) contains a large number of parameters that can be set on-the-fly through the “Post-Process” dialog, without needing to change anything inside the post-processor.

    If you require other changes, SolidCAD offers a post-processor modification service to adapt this post to your machine and to your best practices. If you wish to make changes yourself, you are free to do so. Indeed, the “SolidCAD Universal FANUC” post-processor and all the post-processors available on the HSM Post Library website are unlocked and open-source.

    The HSM Post Library is found here: https://cam.autodesk.com/hsmposts

    A post .cps post-processor file is merely a text file. It can be opened and edited in Notepad or any other text editor. There is unfortunately no user interface; changes must be made to the code in JavaScript language.

    However, the good news is that Autodesk publishes a free manual to guide you through the process, covering the basics of JavaScript and explaining the various sections of a post file. The manual can be downloaded here: https://cam.autodesk.com/posts/posts/guides/Post%20Processor%20Training%20Guide.pdf

    If you can’t find an answer in this 200-page guide, you can consult the vast archive of the HSM Post-Processor Forum, and even post your question on this very active forum. The forum is located here: https://forums.autodesk.com/t5/hsm-post-processor-forum/bd-p/218

    SolidCAD announces new Commander-in-Chief, Marcus Tateishi

    Marcus Tateishi, new President of SolidCAD being congratulated by former President, Michael Kugan at SolidCAD’s Head Office in Richmond Hill, ON.

    TORONTO, ON, January 31, 2020 – Today, the Board of Directors of SolidCAD, Canada’s largest Autodesk Platinum Partner and provider of technology and professional services, announces the appointment of Marcus Tateishi as the company’s new president.

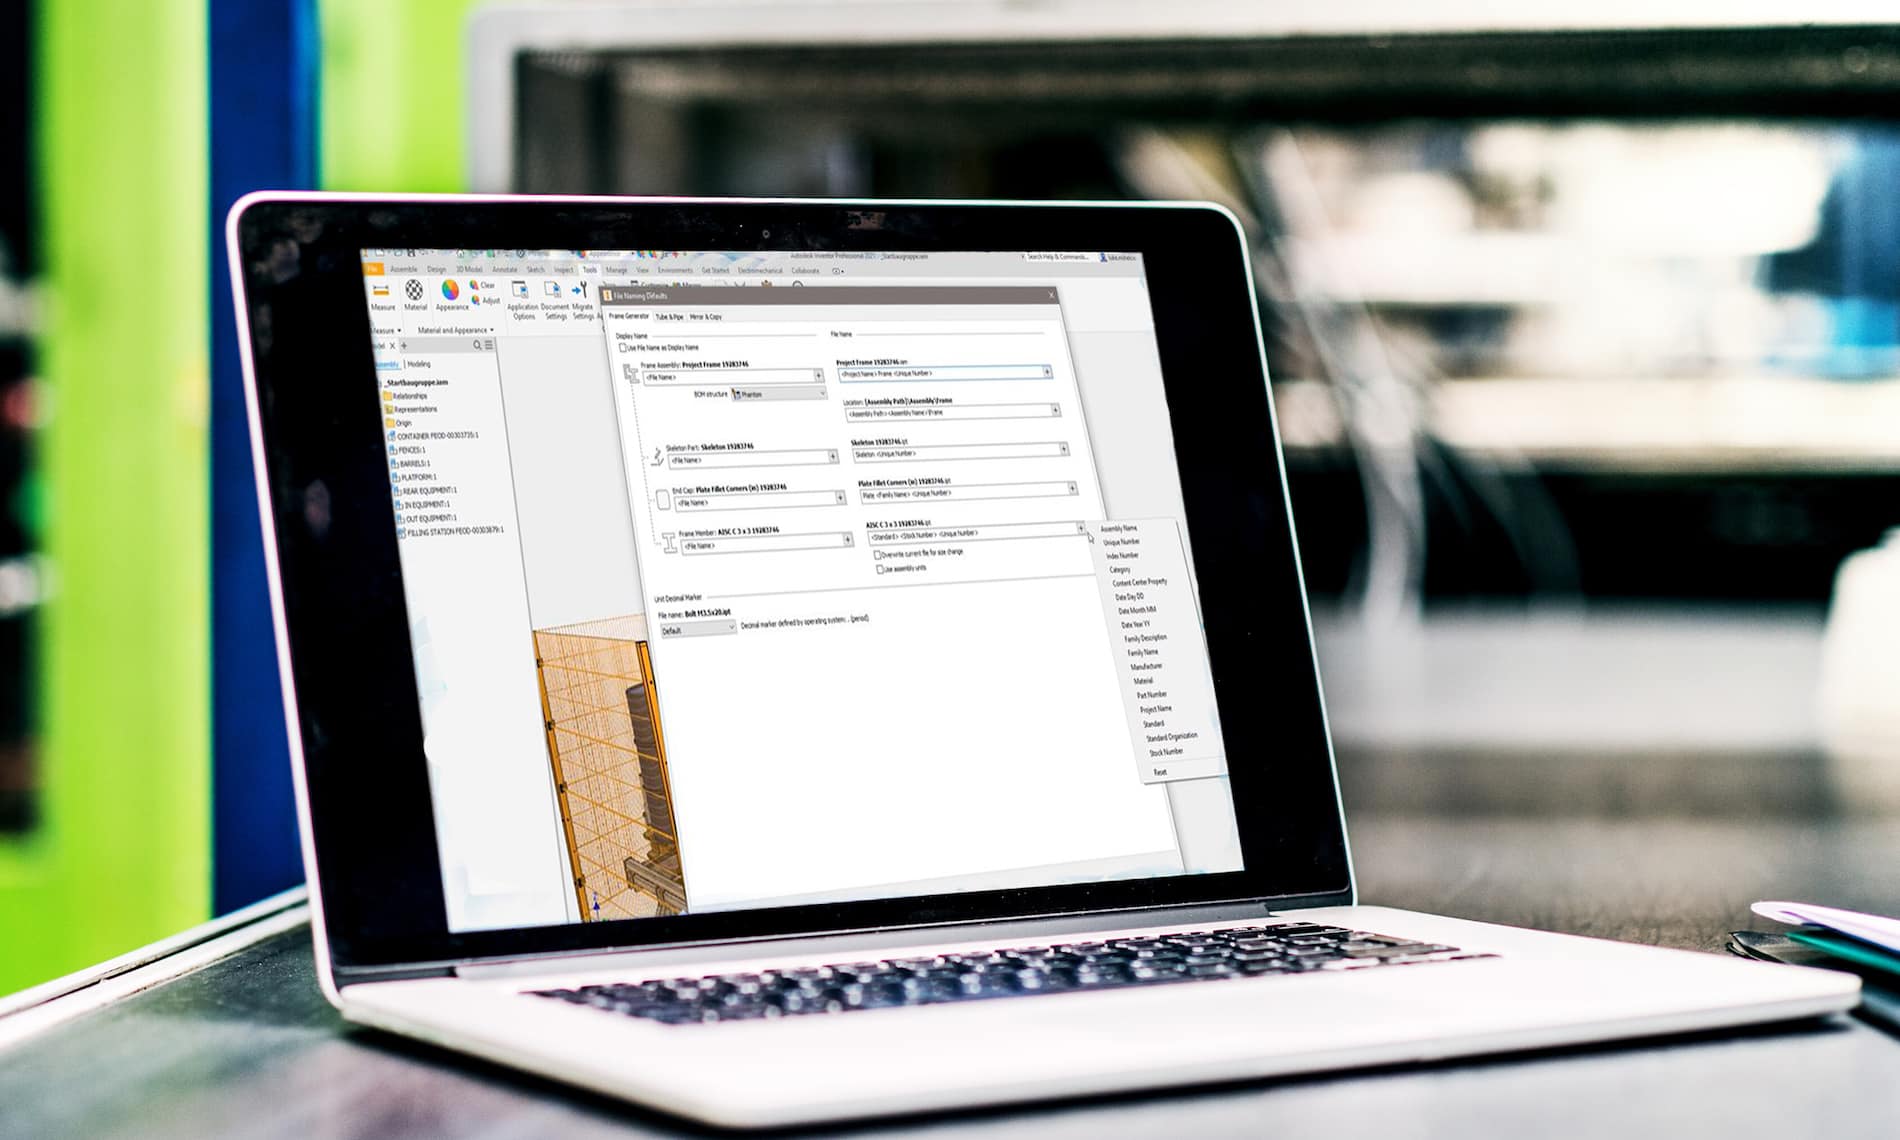
    Marcus is no stranger to the Autodesk business having worked with SolidCAD as their Senior Partner Manager at Autodesk for over 14 years.  In his role as Partner Manager at Autodesk, Marcus developed a strong relationship with the entire SolidCAD team and is very familiar with the organization’s internal procedures, sales processes and strategic goals.  Once he assumes his responsibilities as president, Marcus will focus on generating increased revenue, profitability and productivity in client design processes.

    “This is an exciting time for our company and our partners,” states Marcus Tateishi. “I am thrilled to be taking on the role of president. SolidCAD has been aiding Canadian clients in the design industry for 25 years. Over these past 14 years, I’ve witnessed the company, our employees and customers all experience incredible growth. We have become the clear leader in providing Autodesk, Bluebeam and a host of other technology solutions to the Canadian design market. I look forward to leading this dynamic team as we enter our next chapter. We will continue to provide great products and services helping our customers design, construct and manufacture a more connected and sustainable world.”

    Michael Kugan, who established SolidCAD in 1996 and has been the company’s president until now, will step down and assume the position of Corporate Director starting February 1, 2020. Michael will work closely with Marcus to ensure that his transition to the presidency is seamless.

    “Over the years that Marcus has been our Autodesk Senior Partner Manager, he has long been considered a member of the SolidCAD team and a valued resource,” states Michael Kugan. “With his familiarity of our brand and strong relationships with our employees, Marcus proves to be a perfect fit for SolidCAD that will help maintain our company culture, strong foundation and devotion to client success. His expertise and knowledge in the technology industry, and specifically Autodesk, will bring us a new perspective that will help our clients deliver better productivity results through collaboration.  We are excited to officially welcome him onboard as part of the SolidCAD family.”

    Michael Kugan, Marcus Tateishi and Alexandre Laporte, Vice President of Sales, will serve on the Board of Directors of SolidCAD. The organization will focus on continuous growth through their quality services, training and support for the technology industry.

    BING Images Won’t Appear

    Have you ever turned on background BING imagery inside AutoCAD products only to find they don’t appear?  There could be a few reasons for this:

    • No Geolocation or coordinate system is set.
    • You’re not logged in with your Autodesk account.
    • You’re zoomed into an area compatible with the geolocation you’ve chose.

    These two are the pre-requisites for using images from BING, but there is one more which has many of my customers stumped.  Have you ever seen this message?  You almost certainly have.

    If you choose Yes, then you will see your images.  If you choose No, you won’t.  If you check that little button on the bottom left, you’ll never see this message again.  Good, right?  Well, if you chose Yes, then yes.  If you chose No, well…you’ll never receive this message again and you’ll never see images!

    There is a saviour, however.  There are other message like this in AutoCAD.  Toggles that prevent that box from appearing in the future.  These are called “Hidden Messages” and they can be turned back on by opening AutoCAD’s Options dialog box [OPTIONS].  Then opening the hidden message settings in the System tab.


    I hope you can use this to avoid any unnecessary frustration in your day.