Success Stories
PG Design Studio

PG Design Studio specializes in delivering projects using a collaborative Integrated Project Delivery approach. They pride themselves on working closely with clients, developers, stakeholders, builders, sub-trades, procurement specialists and project consultants through all stages of the project, delivering well-coordinated, efficient building designs.
PG Design Studio strives to deliver strong project concepts, innovative ideas, and strategies that fit the specific requirements of each site, client, and program. They focus on addressing human, urban, geographical, environmental, functional, and practical considerations, with a unique architectural style, resulting in the construction of many award-winning projects.
Project Profile
Challenge
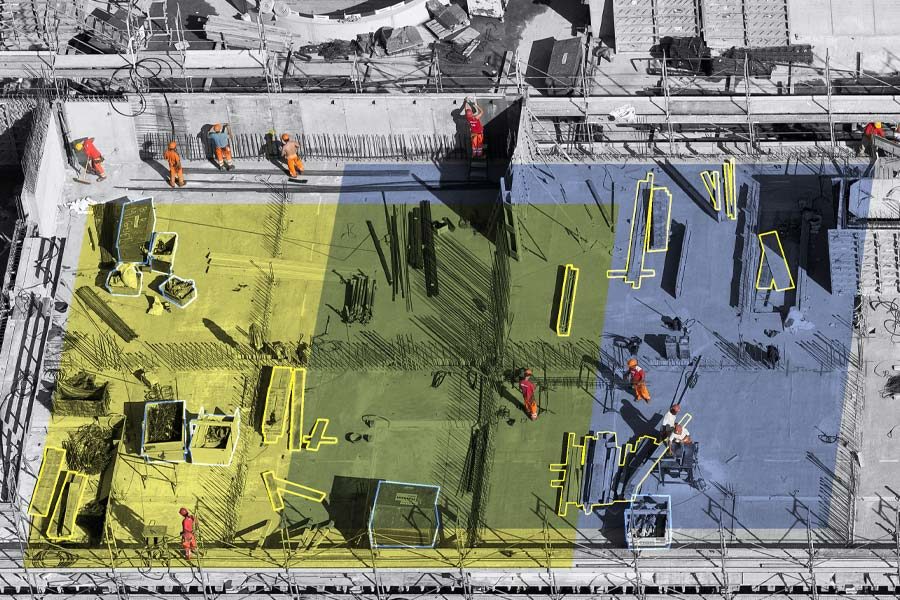
PG Design Studio is unique because they are often the developer, architect, and construction company all in one. With a wide range of services and diverse internal teams, they require seamless collaboration between different departments and various software solutions. PG Design Studio was looking for a platform that can be easily integrated into their existing workflow, easily share project related data, and provide them an all-inclusive portfolio of products that would help them from design to construction.
In addition, with such a large team, that works both remotely and on-site, they were experiencing challenges on finding a product with the right type of cloud-based features. They required a cloud-based solution that would let their teams access project data from multiple devices and locations at anytime.
Solution
PG Design turned to SolidCAD to purchase and implement Autodesk Construction Cloud (ACC) into their existing workflow. The ACC solution provided them a common data environment for all project-related information, connected their workflows, and therefore helped them meet their need for an all-inclusive product. The project data was also stored on PG Design’s other enterprise technology solutions such as Microsoft and Autodesk AEC Collection more specifically, Revit, which was successfully integrated with the ACC solution.
The nature of the cloud-based platform also gave them the ability of easy, flexible access from multiple devices for everyone involved in the project.
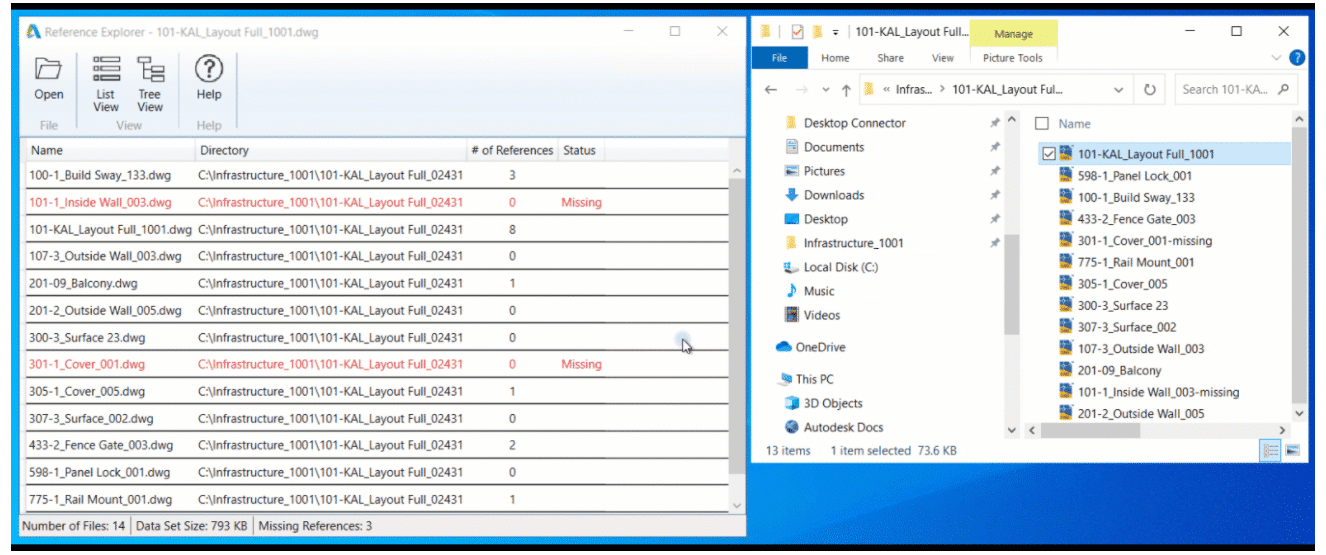
Outside of SolidCAD helping them with the implementation of ACC products, SolidCAD continues to provide ongoing training and implementation support and has been a special resource to many of their projects. Particularly, SolidCAD has built a tool to help PG Design mass import 10 years of old projects from their local services to BIM 360 to ensure their data is now in one central location.
Results
- In the end, PG Design Studio, was able to streamline their technology spend with the integration of Autodesk and Microsoft. Project teams both internal and external now have access to all key project data in a single location. With the centralization of this information, they can deliver higher quality in less time with reduced risk on all projects. That was also positive reflected in their project KPIs when it came down to reducing risk, maximizing efficiency, and increasing profits.
PG Design Studio chose SolidCAD due to their strong and long-lasting relationship with the company. Over the last 8 years they have been confident that whenever they required software, support, or training, SolidCAD was there to help and cater to all their unique needs.
Testimonial
“In today’s AEC industry, many of us are always looking for ways to be more efficient. The SolidCAD team is support we can rely on, especially when it comes to achieving our goals. Thanks to SolidCAD, our ability to make new technologies a norm allows us to stay ahead of the game. Autodesk Construction Cloud helps us connect our project teams and data in real-time, from the design phase through construction, supporting informed decision-making and leading to more predictable and profitable outcomes.“
– Mladen Tubin, BIM Manager at PG Design Studio
Products & Services Used
- Autodesk AEC Collection
- BIM 360 Products
- BIM 360 Design (now Collaborate Pro)
- BIM 360 Coordinate (now Collaborate)
- BIM 360 Build
- BIM 360 Cost (BIM 360 Build and Cost now Autodesk Build part of ACC)
- SolidCAD Training services
- Revit
- BIM 360 products
- Custom Tool
- SolidCAD Development scope and built a tool to mass import 10 years of old project from their local service to BIM 360 (this included the project setup and files)
Similar Projects

Transforming Learning and Efficiency at NORR: Growth with Pinnacle Series

Équipe Laurence: Driving Growth and Efficiency with BIM