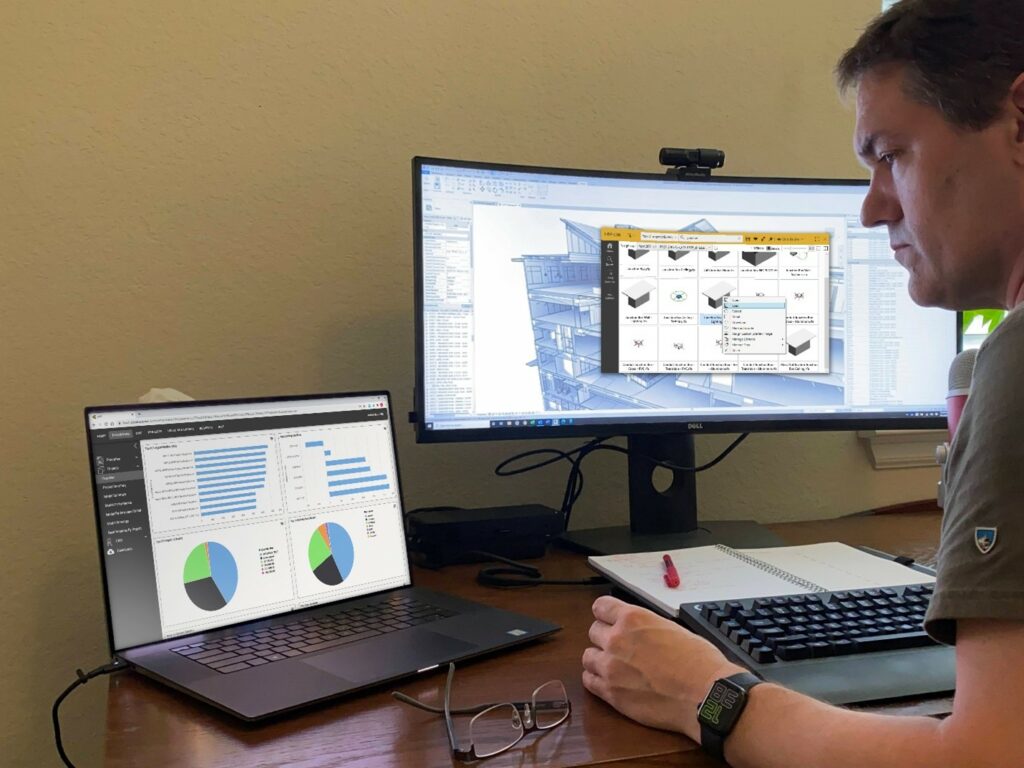
The past year has brought challenges to all. While we look for areas to support and encourage, we continued to look at how we can best serve the needs of our clients. One of the most critical points that hit many, was the need to support entire workforces now working remotely. For our clients using Revit, Autodesk BIM 360 Collaboration enabled our clients to continue to work as teams on new and existing Revit projects. This critical piece ensured that projects could move forward. However, the Revit project models are only a portion of the solution required.
Architects, engineers, and contractors need to author and populate these models with content. Doors, windows, beams, columns, HVAC equipment, lighting fixtures. Every piece of design content needs to be carefully selected and placed. We also need ways to manage and support these projects. Ideally helping our clients be more efficient, reducing the risk of errors and omissions, and heading off project issues ASAP.
Dan Stine of Lake Flato Architects shared his thoughts around the important topic of content management and project analytics in this article published on the Autodesk University site. Dan explains the critical issues that CTC Software’s HIVE solution solves. SolidCAD is the exclusive provider of HIVE for Canada.
In his article, Dan talks about the important topic of content management and project analytics and CTC Software’s holistic solution in this space, that being HIVE. He covers the importance, the challenges, disparate pockets of content, broken feedback loop, and more.
Check out his blog post on The Necessity of Content Management and Project Analytics.
*Dan Stine’s Bio:
A Minnesota native who recently relocated to San Antonio, Texas, Dan Stine has nearly 30 years of experience in the AEC space. He is a Wisconsin registered architect and teaches graduate architecture students at North Dakota State University (NDSU) and presents regularly at the University of Minnesota. Additionally, he has written 14 textbooks, including six on Revit, two on AutoCAD, and one on AutoCAD Architecture. His Residential Design Using Autodesk Revit 2021 is the #1 Revit book in the academic market in North America. He also writes posts for his blog, BIM Chapters, and for Enscape’s blog. He is currently the Director of Design Technology at Lake Flato Architects, the #1 US firm on the 2019 ARCHITECT 50 List.
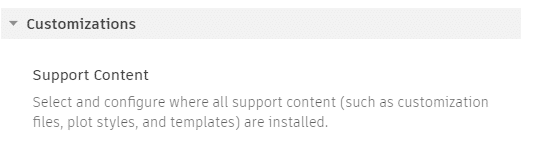
HIVE is a content management system developed specifically for the AEC industry. Firms can organize, manage, set permissions, and ensure the latest content is kept up-to-date and available for all project participants, even when working remotely. Users can quickly find Revit, AutoCAD, PDF, JPEG, and other file types quickly using libraries, tags, favorites, and file metadata.
SolidCAD is the exclusive provider of HIVE for Canada.
Reach out to our CTC team today. We’d like to understand more about your workflows, issues, and projects in Revit so we can continue to work towards practical solutions for our clients.