This article was originally published by Troy DeGroot and Bluebeam, Inc. on the Bluebeam Blog.
Awhile back I was teaching a Bluebeam Revu basics class for a group of civil engineers and designers. An issue quickly came up that changed the way I teach, and it was so obvious.
I was using the same data sets in all my basics classes to show markups and measurements, but it wasn’t relevant to the civil discipline in the architecture, engineering and construction (AEC) industry. So, I quickly collected some new data sets and drew back on my industry experience to develop training tailored to those users.
As a complement to my last post, 11 Tools to Ease the Punch Walk Process, I want to discuss five tools or workflows you may not be aware of that specifically apply—but aren’t limited to—the world of civil design and construction.
First, let’s look at some of the differences between civil drawings and other disciplines like architectural, structure, MEP, fire, etc.
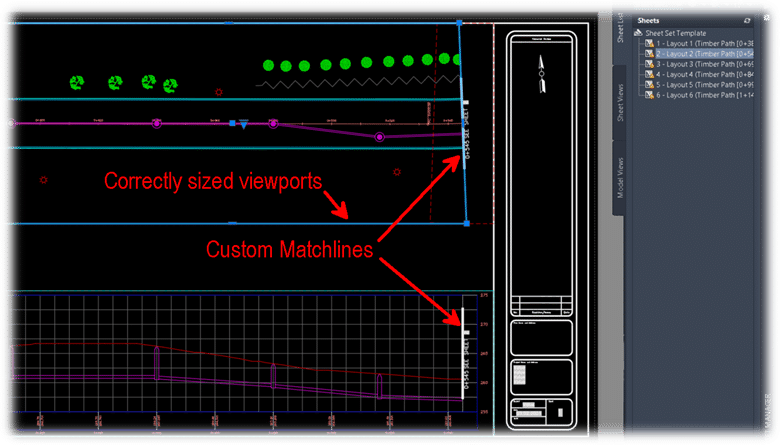
Starting with the obvious, civil drawings are drawn at a much smaller scale. Because of the size of many jobsites, developments and roadways, drawings are showing a much larger area on each sheet.
Also, most civil drawings don’t include dimensions or measurements. This might give some the illusion they’re not drawn to scale, but that couldn’t be more wrong. Those curvy contour lines are located very specifically.
Obviously, everyone regardless of occupation can use the Markup tools in Bluebeam Revu to make comments on drawings and documents. I’ll skip over those and get right to my favorite five innovative ways to use Bluebeam Revu as a civil designer or engineer.
Overlay satellite imagery
Whether you do a screenshot or some other method for acquiring satellite images, be sure to include the scale in the image. This will make it easier to calibrate the image. If the scale isn’t available, you’re still in luck. Maybe you know the curb-to-curb dimension or a building footprint; you can calibrate from that also. Once you have the image calibrated, you can start to overlay markups for easements, utilities, signage or even site staging material and equipment. If you’re doing resurfacing or flatwork, you could even do material estimates.
Calibrating Plan & Profile drawings with different X-Y scales
If you’re working with plan and profile drawings for roadways or power distribution, often the horizontal scale is drastically different from the vertical scale, making it difficult to rely on any accuracy in measurements. In the Measurement Panel in Revu, you will find the ability to calibrate the X and Y scales separately. Now you can do measurements and allow Revu to do all the complicated math for you.
Ideas for Cut & Fill calculations
The contour lines on a civil plan represent the vertical grade change. Depending on the size of the plan or map, this could be one foot or 1,000. To estimate cut and fill quantities, you can create volume measurements using those contours and average depths. (Maybe this video will explain it better.)
Combining several PDFs into one large area map
I’ve been asked this several times from the mechanical, electrical and plumbing teams as well. How can we do line-based length measurements when the material starts on one sheet and continues onto another?
If you start a new PDF with an oversized blank sheet, you can use the Snapshot tool to collect portions of separate sheets, pasting them onto the new document. When using Snapshot, the image comes in at the same scale it was taken from, so you can easily piece them all together like a puzzle. I suggest grouping them once you have the puzzle together so you don’t accidentally move something.
Bidding and tracking field survey projects
Maybe you have a last-minute bid due for a scanning or survey project and don’t have access to the site. Using the sequence or count tools in Revu, you can quickly mark all the locations you’ll need to perform a scan.
Each mark represents a setup, scan, takedown and processing, allowing you to estimate the time needed. Using different colors or layers, you could assign different time estimates if you have to remove ceiling tiles or drudge through the mud to capture the required data.
Use the same bid drawing when performing those scans on site. Quickly change the Status of the Markup to Complete and, if needed, attach an image of the equipment setup. In the field, you might even use different colors if you’re running several scanners at the same time. The more data the better, in case the scope changes unexpectedly.
I know all these functions are possible in advanced software created for design. My intent is to show that you don’t need expensive CAD software to get information out of the PDF drawings. If you like these tips and want to see the technical steps, check out my YouTube Playlist.
Hopefully, you’re inspired to look a little deeper into the civil workflows possible in Bluebeam Revu. How are you using Revu in your workflows? I’d love to hear your feedback or any new ideas you may have had while reading. You can find and message me on LinkedIn.


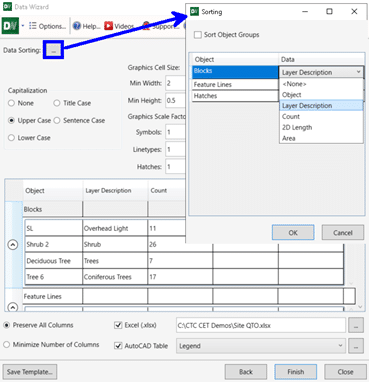 Once the QTO is set up, we can also save the setup to a template to share among projects. This speeds up the QTO process even more for future projects.