Success Stories
CANDEVCON LIMITED

")
CANDEVCON LTD., is a Canadian-owned multi-disciplinary company of engineers, planners, and technologists. The company and its staff have diverse backgrounds with emphasis on all aspects of infrastructure development. With offices in Brampton and Whitby, Ontario, CANDEVCON provides a full range of services including consulting, planning, studies, design, environmental, and construction management to clients across Southern Ontario. Its team of engineers, planners and technologists work with governments, architects, and developers to engineer the built environment.
Standardizing CAD Processes with Customized Training
The Challenge
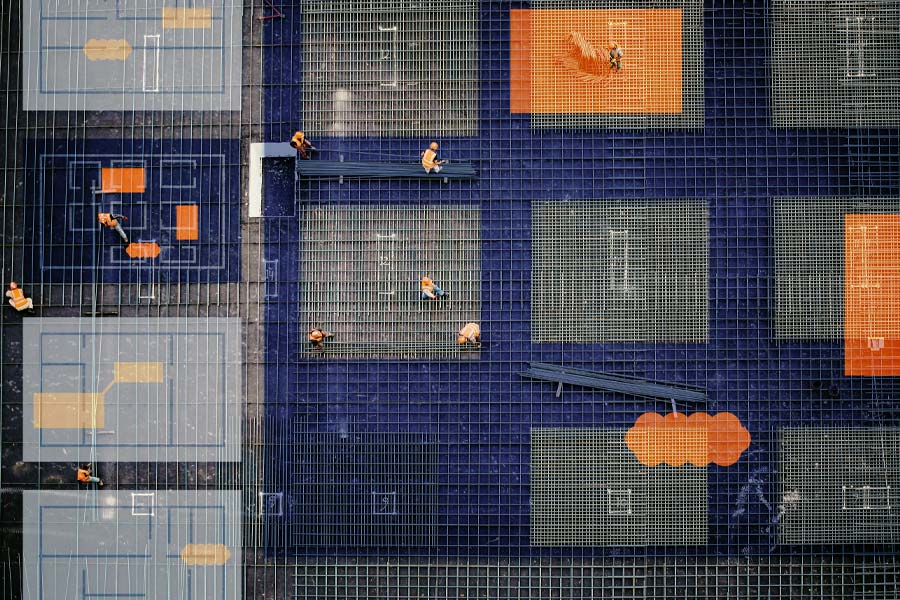
CANDEVCON was looking to create a consistent appearance and internal structure for their drawings. Their goal was to standardize their entire engineering design workflow and improve its production of land development project deliverables.
They specifically wanted a training program that would train employees on their standardized procedures, improve the quality of work, and find efficient ways to complete repetitive tasks while enhancing their users’ knowledge base of the capabilities of their existing Autodesk software, Civil 3D and InfraWorks.
The Solution
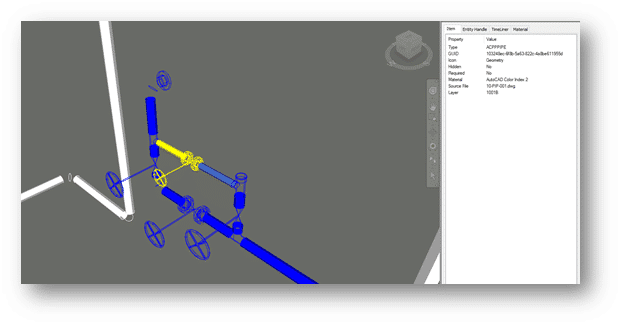
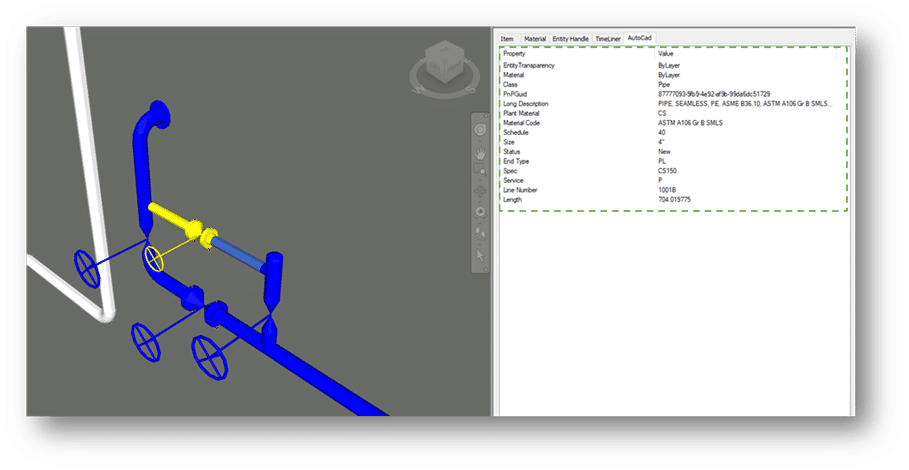
The first half of the training was exclusively focused on training new staff on their new standard procedures. SolidCAD used CANDEVCON’s existing methods as a basis and formed a curriculum that would show users the best practices on how to facilitate the exchange of CAD data, add intelligence to the CAD drafting process and provide tips and tricks to better manage and integrate project data into a 3D design models.
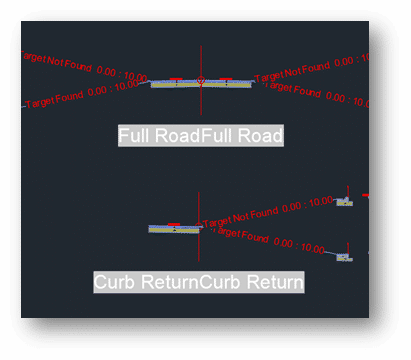
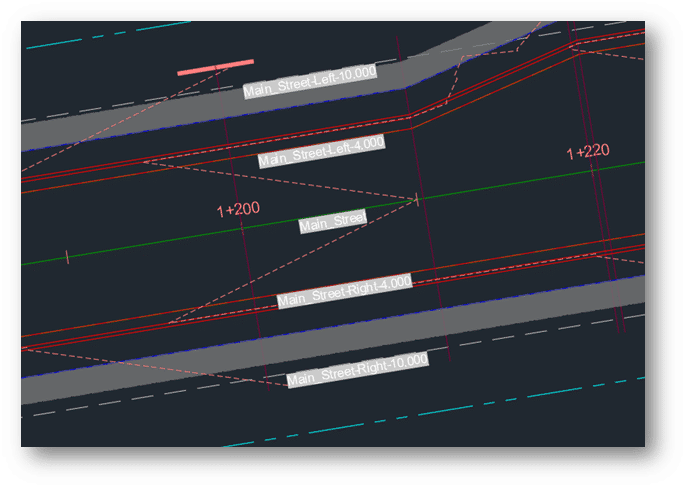
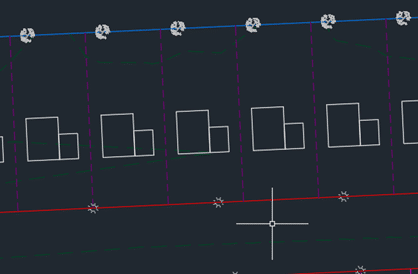
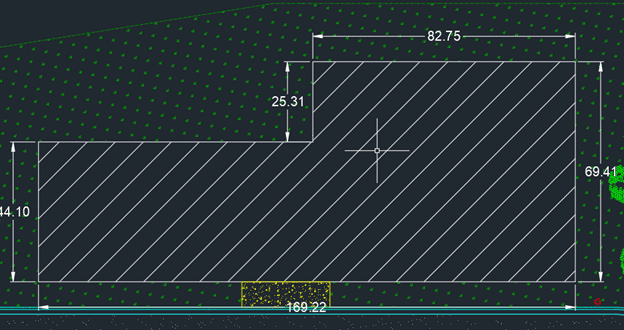
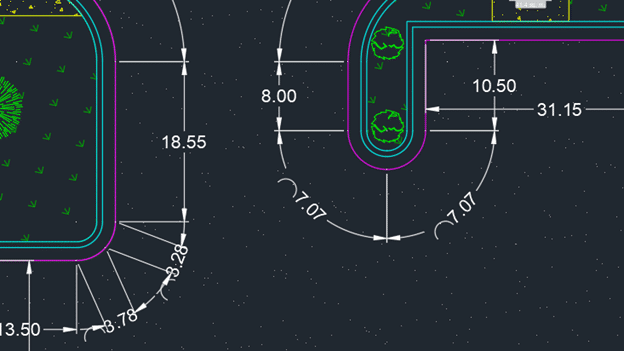
The second half of the training was focused on teaching all users a variety of methods that would enhance their design workflow such as efficient ways to simplify profiling for road infrastructure, site plans, and subdivisions and how to apply these techniques to their existing projects.
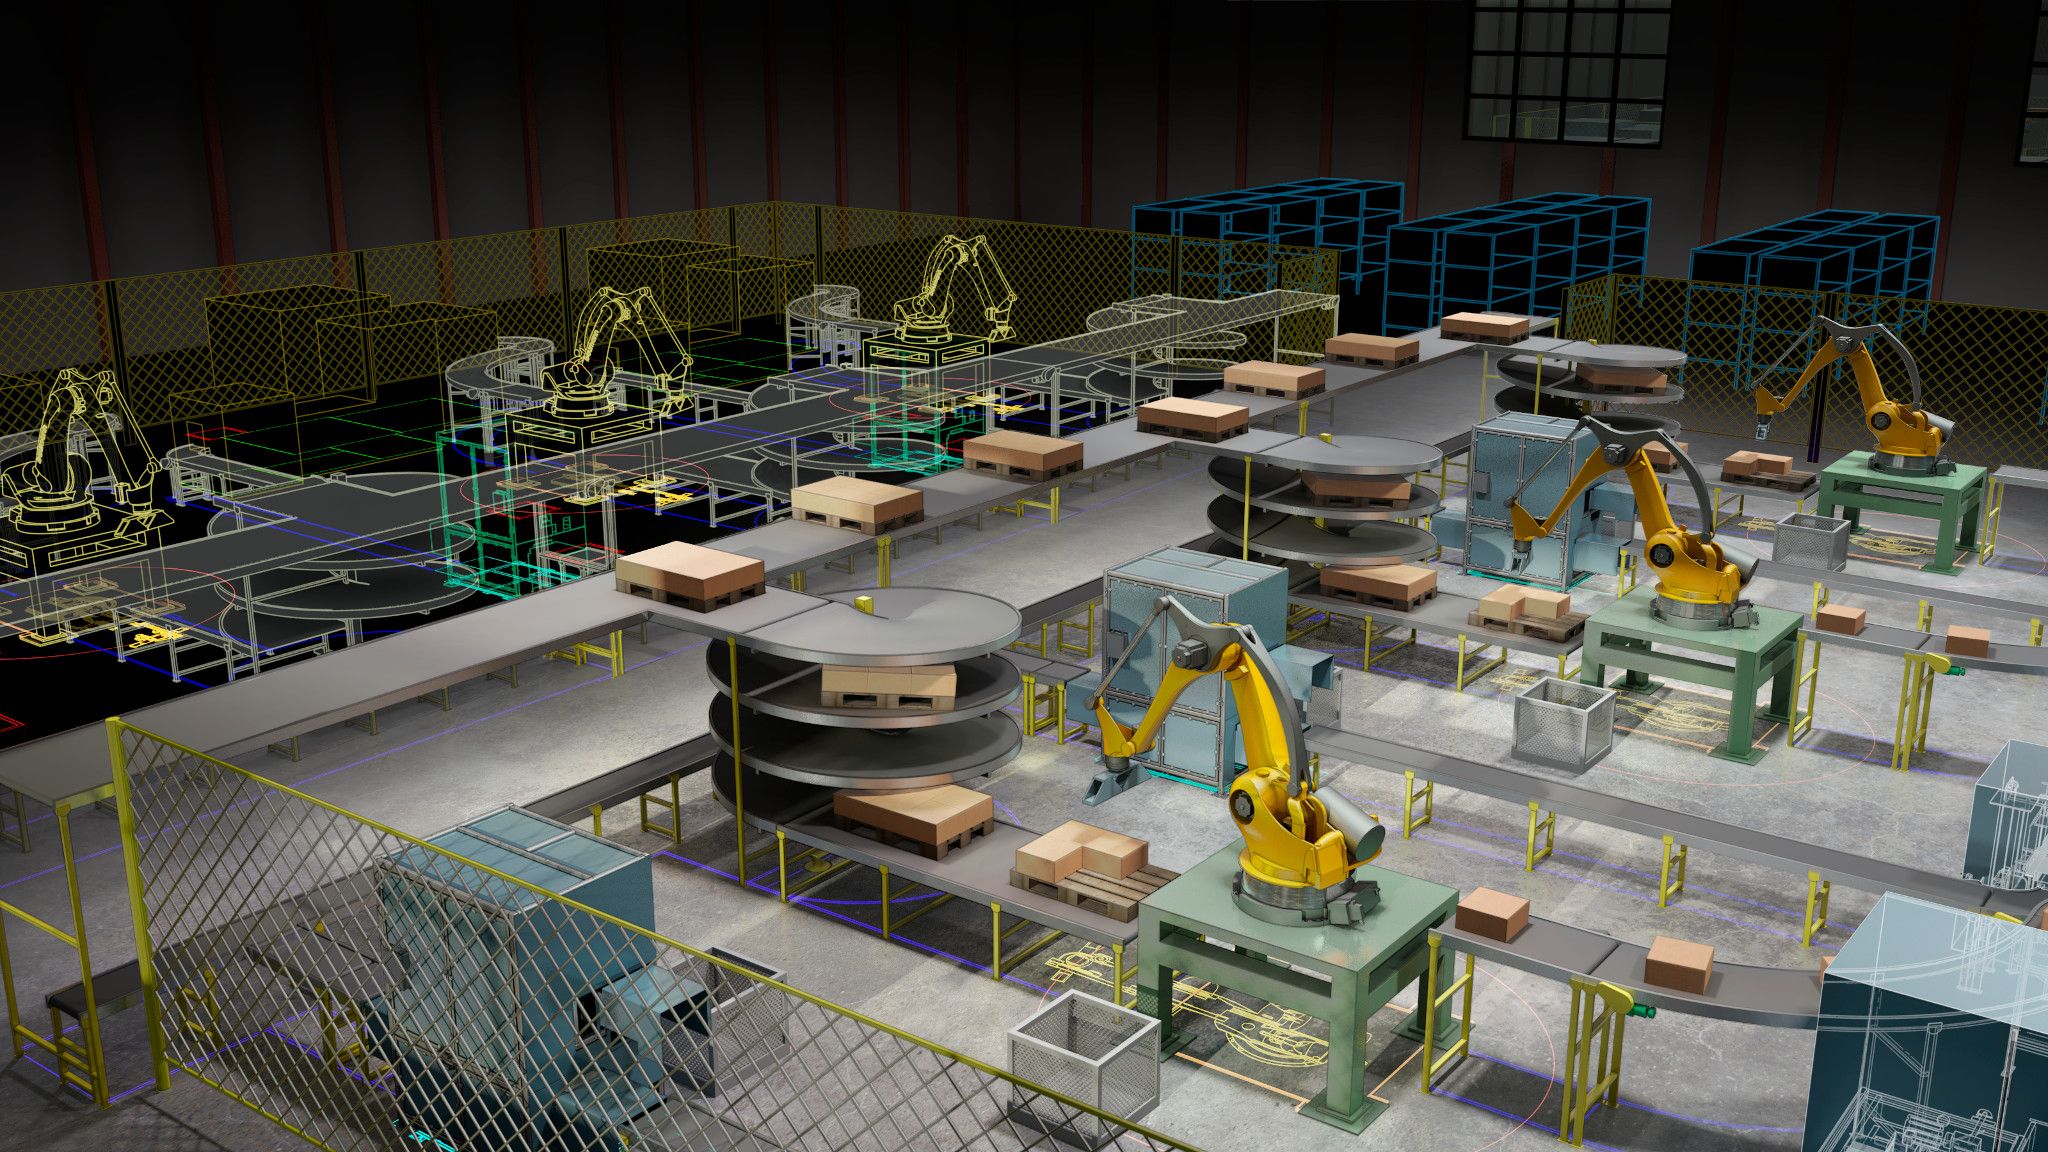
The training program also included advanced techniques for all employees that would improve the production of project deliverables by teaching them how to manipulate the point-cloud data, use it within the company’s network and convert it into InfraWorks to create effective and valuable design presentations for clients.
The training program ended with customized sessions for their senior staff that provided an additional advanced knowledge of the capabilities of their existing Civil 3D software.
The Outcome
After undergoing the training, the CANDEVCON technical team significantly improved their skills. The design workflow was standardized, CAD drawing appearances and configuration became efficient which sped up design production while reducing the likelihood of errors. In addition, the use of added intelligence to the CAD drafting process reduced the effort and time spent on updating drawings as well.
In addition, CANDEVCON was able to develop robust 3D design models that incorporated data from geospatial and civil infrastructure data sources, giving them a competitive advantage when putting together detailed proposals when bidding on new projects. With new skills and the ability to add visualization techniques with InfraWorks, CANDEVCON was able to provide detailed and accurate designs to their clients.
Testimonial
Over the course of years, CANDEVCON chose SolidCAD as it’s software and service training provider due to the strong trust and confidence in the level of support and expertise demonstrated. From planning out investments in software purchases to finding the best ways of tailoring and conducting trainings according to our needs, SolidCAD makes the process simple and smooth. The moment we contact their team, they make themselves accessible and we appreciate the one-to-one customer support experience
-Lynn Orr,
Finance & Administration at CANDEVCON LTD.
Products & Services Used
- Autodesk Civil 3D, (software already owned by CANDEVCON)
- Autodesk InfraWorks (software already owned by CANDEVCON)
- Training (Customized Training Program owned by CANDEVCON for 9 Days)
- Support
Similar Projects

Transforming Learning and Efficiency at NORR: Growth with Pinnacle Series

Équipe Laurence: Driving Growth and Efficiency with BIM


")