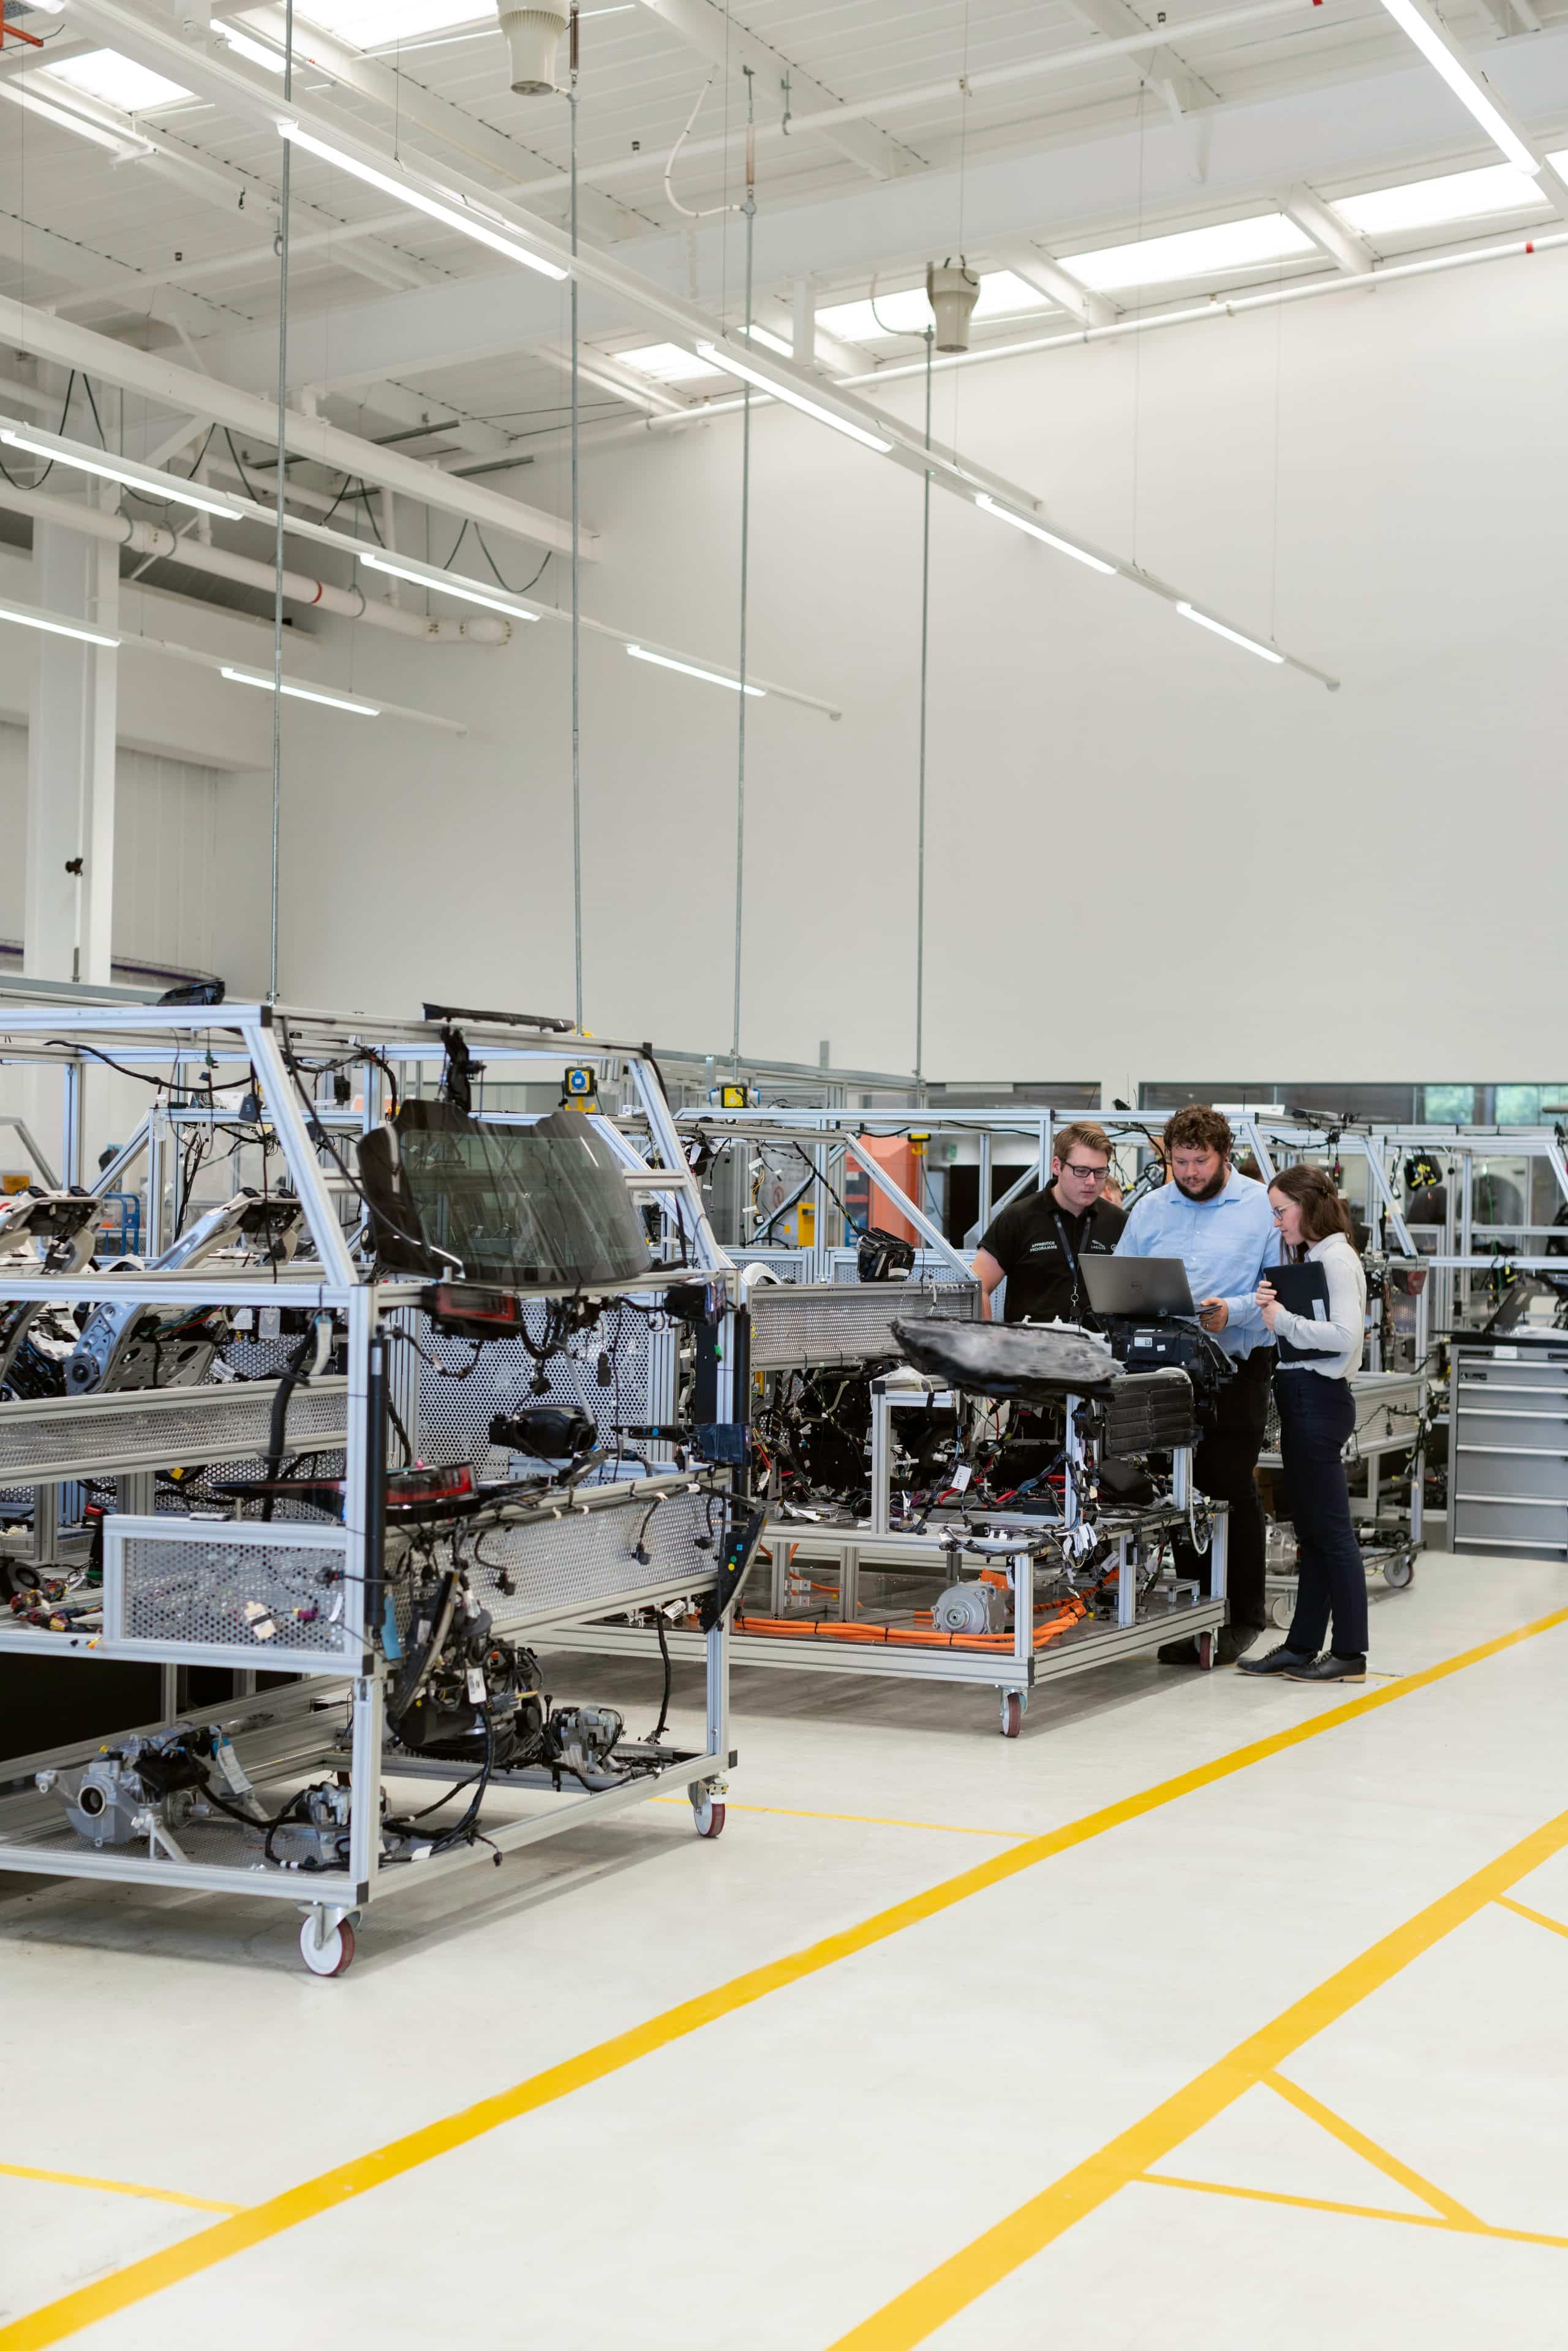
• Importing wire types in AutoCAD Electrical

    Figure 1

    Whenever we are working with AutoCAD Electrical, one of the key features that we have when we are creating our drawings, is the ability to

    create and assign the custom wire types that we will use throughout our schematic designs. Every time that we create a new drawing, by default the only wire that is going to be available is the WIRES layer which is the generic wire type that the software uses when we first create any type of wire as displayed on Figure.1 in the Create/Edit Wire Type editing window.

    Having to manually enter the types of wires that we are going to use is a task that cannot be avoided the very 1st time that we create a drawing, but once we having created the list of wires that we need to use in one drawing, we can reuse them over and over again.

    To achieve this we need to do the following:

    • Open the Create/Edit Wire Type editing window and click on the icon that says “Import” as seen on Step 1 on Figure 2.
    • A window will pop-up asking you to browse to the drawing that contains all the wires information, browse to the desired drawing.
    • Once we have selected the DWG another window will pop-up displaying all the wires from that drawing.
    • By default all the wires from that drawing are selected and highlighted in black as seen on Step 2 on Figure 2.
    • We can pick and choose the wires that we want to import and the click OK to complete the process.

    Figure 2To take this one step further, we can standardize the wires that we use with your CAD Manager so we can import that list of wires directly into your templates. To achieve this we need to open the current template as a DWT file, then repeat the exact same process that was described earlier.

    Once we have completed importing all the wires we need to re-save the template as a DWT one more time to make sure it will be usable as a template in the future.

    This will further standardize the wires that the designers are required to use and remove the guess work by setting the wires at a template level.


    An Electrician’s 4 Favorite Bluebeam Revu Features

    This story was originally published by DOMONIC DIAZ-WESTON on the Bluebeam Blog.

    Every construction trade plays a different role in each construction project. As a result, they are likely to find different values in the myriad tools and features available in Bluebeam Revu.

    Kaaron Lee-Wah, an electrician in Toronto, is no different. To him, Revu has become essential ever since his boss asked him to explore how to completely digitize his company’s electrical drawings from paper. Revu has allowed him to use tools in the software that make his job more efficient, helping him to save time on previous paper-based tasks.

    These are the Revu features that are unquestionably Kaaron’s favorite:

    Tool Chest“This allows you to create custom icons to help identify and create a clean and easy layout for your guys in the field to follow along. When it comes to electricians using Bluebeam, there are many different panels, circuits and devices that we have to account for and include on our drawing. With Tool Chest, you can create icons, color whatever size you need it, all in a matter of seconds—and they look very professional.”

    Calibrate“The Calibrate feature is pretty dope, where you’re able to upload a PDF version of any drawing—whether it be mechanical, architecture, electrical, even landscape—and you can customize that calibration to that specific scale. So, drawings come in many different scales, and other software have a hard time picking up and reading that scale of a drawing. But Bluebeam has a great feature, the Command + M tool, that can measure it, and you’re able to customize and calibrate any drawing or PDF you upload into Bluebeam, which gives you access to finding whatever measurement that you need—whether it be in millimeters or meters or feet—all off the custom calibration once you upload it into your Bluebeam Revu.”

    Overlay“It’s kind of similar to Snapshot, but with Overlay you’re able to grab the entire page itself and overlay it on top of a second set of drawings, and then that can help you identify or troubleshoot any issues with architecture and electrical drawings.”

    Snapshot“I find with Snapshot you’re able to now copy a section—let’s say the electrical drawings—and bring them over to the architectural drawings if you want to overlay for a certain reason. So, what we do in the electrical trade is I’ll take a Snapshot of the electrical drawings of let’s say a unit in a condo, and I will overlay it on the architectural drawings, which show you more detail—wall sizes, how long a wall is, how deep the wall is. It’s an amazing feature, and it comes in clutch every time.”

    Watch on YouTube https://www.youtube.com/watch?v=zAkD-l8v_m8 

    Infraworks: Custom Assemblies

    It’s relatively easy to create a custom component road assembly within an Infraworks model.  But how does one save that custom assembly for use later?  Read on to find out!

    The answer depends on how you’d like it to be shared:

    • Export for use in other existing models.
    • Save for use when new models are created.


    Saving the Assembly

    First, to save a custom assembly, simply right click the component road and choose Add to Library.  Choose a station to copy and give the new assembly a name.  The new assembly will appear in the style palette.

    Choose a station to copy and give the new assembly a name.  The new assembly will appear in the style palette.

    Export for Existing Models

    The individual assembly cannot be exported, but the catalog can.  Select the catalog, in this case, Custom, and click to export to a JSON file.

    The JSON file can then be imported into a different existing model using the import button.  The assembly will be available in the styles palette.

    Save for Future Models

    There is no “tool” for this, but if one copies the appropriate files from and to the correct locations, then it works just fine.  The custom assembly files can be found in the model’s folder path.

    …model.files\unver\Content\Styles\Component\  .  Possibly in a Custom sub-folder.

    There will be 2 files for each assembly.  A PNG image and a ACItem file.

    Copy these two files to the Infraworks standard folder.  Feel free to create a sub-folder here to place your custom assemblies.  This folder will appear within Infraworks.

    C:\ProgramData\Autodesk\InfraWorks\Resources\LocalLibrary\Styles\Component\

    The JSON file can then be imported into a different existing model using the import button.  The assembly will be available in the styles palette.


    CMAC-Thyssen

    Success Stories

    CMAC-Thyssen

    CMAC-Thyssen Mining Group is a contractor and mining equipment manufacturer offering a diverse range of fully integrated services with contracts carried out across multiple continents and over 850 employees worldwide. CMAC-Thyssen Mining Group makes the mining profession accessible through their unique training program, mechanized equipment, solid partnerships and innovations.

    They have been working with SolidCAD since 2015 and maintain a strong relationship to this day. Being such a prominent company in their industry, CMAC-Thyssen stays up to date with the most efficient software and training to help them succeed.

    Improving data flow with Vault, Inventor and AutoCAD!

    The Challenge

    Due to their vast international client base, CMAC-Thyssen accrued a tedious amount of paper data. The production team was unable to access drawings without help from their engineering department. This ultimately slowed down their workflow as their engineers became overwhelmed with the huge amount of information and lack of resources to efficiently store it.

    The Solution

    CMAC-Thyssen reached out to SolidCAD to streamline their processes and improve data management. Our team of industry professionals was able to assess their needs and implement AutoCAD, Vault and Inventor to help bring their data into the digital world. Rather than speeding up the processes they had in place, our technicians helped them rethink their processes altogether and streamline their entire workflow through organized and accessible data.

    The Results
    • Since implementing these solutions, CMAC-Thyssen has seen a huge leap in productivity.
    • The production team can now access the most up-to-date drawings independently.
    • Document retrieval for 3rd parties had improved by 100%.
    • They have improved document filing and now have more flexible archiving.
    • Documents can be easily accessed online without the need for physical records.

    Testimonial

    SolidCAD does their job very well, we have a good relationship with them. Their technicians helped us with implementation and are an integral part of the team. There has been a lot of collaboration and it is very appreciated on our part. I advise other companies who have the same challenges as we did to choose SolidCAD, a supplier with a long history of technical and problem-solving experience, communication, resources and a lot of knowledge. Their staff has a lot of lived experience. Instead of wasting time trying to search online and solve workflow problems on your own, call on the expertise of SolidCAD.

    -Normand Gauthier,
    IT Manager at CMAC-Thyssen Mining Group

    Products & Services Used

    Similar Projects

    D-Wave

    D-Wave Quantum Inc. (D-Wave) is the leader in the development and delivery of quantum computing systems, software, and services. It is the only quantum computing company building both annealing and gate model quantum computers and…

    3D-P

    3D-P consists of a team of mining and positioning technology experts. It was created to bring innovative thinking and new technologies to the mining industry. They have since evolved to bring this approach to several…

    Starline Windows

    Starline Windows is an industry leader in the design and manufacturing of architectural aluminum window systems, as well as residential vinyl windows and doors for over 50 years. They have completed thousands of contracts and…

    How Concrete Contractors Can Best Use Bluebeam Revu

    This story was originally published by Troy Degroot on the Bluebeam Blog.

    I’m a firm believer that every specialty contractor could benefit from implementing Bluebeam Revu in their everyday workflows. For this article, I’d like to highlight a concrete contractor’s position from bid to built.

    There are a few important objectives we find in any construction project. I’d like to walk through how Revu meets those requirements. If you’re interested in learning more about how these can be done in Revu, have a look at “5 Ways Concrete Contractors Get the Most Out of Bluebeam Revu.”

    Every company is different in how it approaches projects. In this article, I want to highlight the possibilities so you can see where Revu fits and what customizations may be required to make it fit your unique needs.

    Let’s look at those project objectives.

    From the first time you open the request for proposal (RFP), there are things a project manager starts to think about even before they open the drawings—and even more as the plans rollout.

    Project Location: Do we have crews in the project location, or do we need to accommodate for travel expenses? While Revu may not have a “location cost” built into the available tools, it is possible to develop these. Perhaps you want to have a pulldown menu with specific cities or areas where you perform work regularly. Along with the locations in a pulldown, you could also associate a percentage markup to account for that area based on historical project data.

    Pour Dates and Schedule: Do we have crews available to meet dates and project phases? For large development projects with phases, we can use the Spaces feature in Revu. Simply draw a Space shape around an area of work and name it “Phase II.” By doing so all the slabs, curbs, etc., will be categorized in the markups list under the Phase name. This makes it easier to allocate crews, materials and equipment based on the specific requirements of each phase. We can also track the progress using the built-in Status column where crews can mark each day’s progress on what slabs, walls or foundations were completed.

    Equipment Required: Just like labor availability, we need to consider equipment availability for things like forms, trucks, curb or cross pan machines. Creating custom tools in Revu, you can place a symbol within a “Phase” indicating what equipment is required. You can even allocate a rental price per day for the equipment cost estimate.

    Estimate: There are great measurement tools included in Revu allowing you to calculate area of slabs, volume of isolated pad footings or linear footage of strip footings. The versatility of Revu and our ability to customize tools opens the door to personalizing your markups and what data is generated. We can differentiate types of pours by color, linestyle and hatch patterns, or even add labels to display a description right on the drawing. We can also add parameters like design mix, hand vs. machine, or whether fiber mesh or WWF is required. In some cases, we could even estimate the rebar required or the number of trucks need to be scheduled based on cubic yards.

    Finish Requirements: We need a clear understanding of finishes like construction/control joint layouts, stamped design, smooth or broomed, color stained or saw cut requirements. Applying different colors or hatch patterns to the markups will clearly identify those areas in a clear and visual way for the estimator and the crew in the field. A custom line tool representing saw cuts allows you to trace them on plan and quickly apply labor and equipment costs based on a linear footage collected in the markups.

    QA/QC: As a final walk through you can do a punch list noting any damage cause by other trades. You can easily incorporate images or video documenting these damages and what it will cost to fix them.

    Revisions and Scope Changes: Every project has delays for weather, site and utility prep. Often projects have design changes as well and we need to not only stay current but also track and communicate scope changes. These can often change cost and pricing as the scope begins to creep after the original estimate. Revu also has tools called Document Compare and Overlay Pages that will look at two drawings and quickly point out the differences. Document Compare is going to automatically draw clouds around all the changes. Overlay Pages is like the old light tables we used to place physical drawings over one another and see what was different. After finding the changes, your takeoff markups can quickly be stretched or moved rather than starting over. At that point, you have tangible evidence of scope changes for cost updates.

    After reading these objectives and possibilities, you could have one of three responses. One, this article helped evaluate Bluebeam Revu as a solution. Two, you already use Revu, but the article sparked ideas on how your current use could improve. Or three, we confirmed you’re already getting the most out of your software investment.

    Civil 3D: PPK Extension

    Many of our customers desire the ability to transform Civil 3D data between coordinate systems.  This was challenging or impossible…until now!  Read on…

    It is available for Civil 3D 2019-2022.  Read more about this extension here.

    The Autodesk® PPK Survey Extension 2022 for Civil 3D® provides an interface for importing GPS data (in RINEX format) for analysis, reporting, and converting it to coordinate geometry points in an Autodesk Civil 3D drawing. Once installed, users can access the Autodesk PPK Survey Extension 2022 for Civil 3D commands via the Autodesk Civil 3D Toolbox.

    Under COGO Points Transformation Tools:

    • Coordinate System Transformation
    • Vertical Datum Transformation

    Under GNSS Data Processing:

    • Post Process Kinematic Survey

    Enabling The Navisworks Plug-In in Plant 3D

    In my previous blog, I explained how Navisworks can complement Plant 3D.

    Now I will show you how to enable some Navisworks features directly within Plant 3D, or any AutoCAD based products. With this feature enabled the user can export a Navisworks (NWC) file directly from within AutoCAD. They will also have the option to manage the Navisworks export settings.

    For this example, I will be using AutoCAD Plant 3D 2021 and Navisworks Manage 2021. If you do not have access to Navisworks you can download the Navisworks exporters from Autodesk directly.

    Here is the link: Navisworks 3D Viewer Free Download | Navisworks Freedom (autodesk.com)

    Loading the Plug-in in AutoCAD

    1) Open or create a new DWG in AutoCAD.

    2) In the Command line, type APPLOAD

    3) Navigate to: C:\ProgramData\Autodesk\ApplicationPlugins\autocad_exporter2021_x64.Addin.bundle\nwexport2021

    4) Select crx

    5) Click on Load

    6) It will inform you if the Plug-In was successfully loaded.

    7) To test it, start typing NW in the command line. A new set of Navisworks commands should be available.

    8) To export DWG contents, simply type NWCOUT and save the file.


    Adding the Navisworks Menu in AutoCAD

    With AutoCAD or a DWG open, type CUILOAD in the command line:

    1) Click on Browse

    2) Navigate to: C:\ProgramData\Autodesk\ApplicationPlugins\autocad_exporter2021_x64.Addin.bundle\nwexport2021\nwcreate_data18

    3) Change the File type to “Legacy Menu Files”

    4) Select mnu and click open.

    5) Click on Load

    6) Close the CUI dialog box. If you get a warning message, it is ok to proceed.


    If you would like to learn more, Navisworks training is available as a supplementary course to SolidCAD’s Plant 3D course curriculum. Please contact training@solidcad.ca

    What a “Free” Document Management Tool Costs Your Business

    Many free content management solutions are available in the market today, such as SharePoint, Box, Network Shares, and even USB external drives. Organizations recognize the need to capture their electronic documents online and use these tools to fill the need. While providing basic functionality, free applications can cost your business more money and time than a dedicated engineering document management system (EDMS). 

    While seeming to be a cost-effective solution, the reality is these “free” tools are missing a considerable amount of standard EDMS functionality. Here are just a few examples:

    • Document control
    • Workflow automation
    • Full change management

    This lack of features can cost money to your organization and cause lost knowledge with staffing turnover and retirement.

    Where “Free” Document Management Tools can work and their Limitations

    Some businesses can have success using document management solutions such as SharePoint, Box, and other file share applications if they fall into the following categories:

    • Only require basic document management functionality
    • Small or mid-sized organization
    • No need to collaborate across different departments or external sources

    These tools tend to work as sizeable digital filing cabinets, allowing groups to share and save documents in an accessible space and provide the following benefits for non-technical documents:

    • Provide users the ability to save, share, and search for files across the business
    • Cloud-based sync storage of files
    • Mobile device access to documents
    • Easy management of landing pages, libraries, and lists

    Where “Free” Document Management Tools Fail Engineering Requirements

    While these “free” tools fill a niche role, they do not provide a complete solution required by an Enterprise-class organization that requires structured, controllable document management.

    A “free” tool can assist organizations that utilize a basic linear workflow for generic documents, but technical documents and drawings require a malleable workflow. Technical documents usually are highly regulated with a control process in place.

    Technical documentation also comes with the following challenges:

    • Normally unstructured data set
    • Used across multiple systems and teams
    • Difficult to access due to change management locks and file type diversity

    These factors make engineering documentation tough to manage, access, and control. When you add in other systems, such as a CMMS tool, it is challenging to monitor this information within the limitations of a free tool.

    Getting this wrong can have a significant impact and reverberating effects throughout multiple teams. In document-heavy facilities (i.e., power plants, factories, etc.), technical information must be accurate and available to avoid downtime and maintenance issues, leading to lost revenue. Businesses trying to shoehorn these free tools into their typically experience the following problems:

    • Increased costly downtime
    • No integration available between other systems such as CMMS
    • Increased complexity of change process management
    • Concurrent engineering challenges with technical documents
    • Lack of communication tools across multiple sites and departments
    • Lowered efficiency due to missing EDMS functionality

    The True Value of Meridian EDMS

    A robust engineering document management solution (EDMS) like Meridian is required to help organizations manage their technical data and avoid the pitfalls of “free” tools. While having an initial higher cost, EDMS solutions provide a considerable value when looking at the overall picture. Here are a few benefits gained by using a dedicated EDMS:

    1) Document Exchange

    Larger projects bring the challenge of sharing documents with multiple departments and teams. These documents can be lost or delayed when being pushed through the review cycle. An example of this is an AutoCAD file with external references. Drawings referenced by the target document can be ignored or lost during a typical workflow unless tightly tracked throughout the process.

    Meridian solves this issue by tracking these secondary technical documents with built-in functionality. Free tools such as network shares or Dropbox do not cover these scenarios, leading to lost or duplicated work.

    2) Extra IT Maintenance Costs

    While a “free” tool can seem cost-effective, it often strains IT resources assigned to manage them. Typically, the IT resource tasked with maintaining this tool is responsible for many other systems and lacks the proper training.

    The Meridian SaaS offering provides all maintenance, support, and upgrades which removes the added workload from your IT resources.

    3) Work Order Efficiency

    While “free” tools can help a smaller business execute on work orders, they become a hindrance to a larger organization with multiple teams and facilities. Work orders can be challenging to locate across multiple disparate systems with inadequate search tools, which can lead to the following:

    • Safety concerns
    • Multiple document copies spread over different systems
    • Technicians using obsolete document versions
    • Inaccurate data due to lack of document control tools

    With a dedicated EDMS like Meridian, your organization can refer to a single source of truth that features purpose-built document control. Technicians will gain access to the latest document version that is found easily using robust search capabilities. All technical documents related to an asset can be located quickly via a tag scanner or the surrounding metadata via the advanced search. Streamlining this process will have an immediate impact on work order costs and resource availability.

    4) Lower Operating Costs

    Using “free” tools alongside legacy pen and paper document solutions incur costs associated with printing and logistics. When you need to get a hard copy into the hands of a critical resource on time, this can impact your budget. Not only can this cost your business money, but it also wastes effort if the package does not contain all the required documents.

    The Meridian solution will allow your teams to move critical data into a single system with high online availability. Moving to an EDMS will allow your resources to access the latest complete document packages on many IoT platforms (i.e., mobile devices, tablets, PCs). Manual labor is heavily reduced via the automation capability of the tool, saving many hours in labor costs.

    Sometimes “Free” is Expensive

    The actual cost of a “free” or legacy tool can surprise an organization. By not using a purpose-built application to manage your technical documents, you can end up costing your business time, efficiency, and money in the big picture.

    If your business is interested in unlocking the power of a dedicated EDMS, don’t hesitate to get in touch with the SolidCAD Meridian team.

    Autodesk Desktop Connector Update

    We are excited to share with you the highlights of the latest Autodesk Desktop Connector update!

    Enhancements are:

    • Folders Shared using Autodesk Drive are now visible on the desktop when using Desktop Connector.
    • When using Autodesk Collaboration for Civil 3D, an XML configuration file can be used to prevent a drawing’s reference template file from being uploaded when saving or dragging and dropping the drawing to Autodesk Docs.
    • AutoCAD 2022.1 will no longer create bak, dwl, dwl2 files when the dwg was opened from the workspace. For AutoCAD releases prior to 2022.1, Desktop Connector will add dwl and dwl2 files to the ignore list so they will no longer be uploaded.
    • In Autodesk Drive web, ‘My Data’ cannot be renamed or deleted. To match that behavior, Desktop Connector has removed those commands when right clicking on ‘My Data’.
    • Unnecessary “Checking Latest Version” dialog showing up during AutoCAD dwg compare workflow.

    There have been significant changes to folder sharing.  If you have folders shared, it is recommended to educate yourself on the new behavior.

    The new behaviour is outlined here and here.

    For more information, visit this link.


    Previews… More like Pro-views: Professional Revit Family Previews the Easy Way Using the Free Family Preview Generator

    When you are looking at inserting a family, you will want to get the most amount of information about the family file in the shortest amount of time. Without tools like HIVE you are limited to 2 sources of information, the name of the family and the preview image.

    Figure 1. Multiple preview directions in the Door Family Folder on my computer

    You can control the family naming convention for your company, so why not do the same with the preview image.

    Do you know how the preview image for a Revit family is defined? Its very simple, it’s defined in the File Save Options for the family:

    Figure 2. Setting the thumbnail manually

    The default in the Generic Model Template is that the Active view/sheet is used for the Thumbnail. This means that anytime you save the file you need to make sure that the view is setup for the presentation you want to see, this takes time and if most often overlooked.

    The Family Preview Manager from CTC enables you to control the preview image for multiple files:

    Figure 3. Free tools have the lighter tool image

    It is also one of the Free tools within the CTC BIM Manager Suite.

    Settings for the tool are found within the Options.

    There are general settings for things like whether to create backup files as well as which item should be hidden, for example, text and reference planes.

    Then there are Appearance settings and here you can select the View direction, Style, Detail level and more. So here you can define that it will be in the Realistic graphic style from the 3D Left Front Top view with the Fine Detail level. You can define the Default Appearance which will be for any categories that do not have an Appearance Template defined.

    Appearance Templates are then used for any catalogs that will not use the Default Appearance, for example Tag categories would be best saved in a Plan View rather than a 3D Isometric view.To use an appearance template, setup the template then assign categories to it. Note that you can assign templates for different hosting methods of families, this is important when you think of the orientation of content when face or wall based.

    You can select between the Active Family Document or multiple family files with the Document Batch option, however, Active Family Document will of course require that you have a family as the current open file.

    Once you have selected the files to be processed you will have the option to overwrite the family or save to a new location, I recommend using the save to new location when you are testing the tool, once you are comfortable with the results then use the Overwrite Family option.

    The end result of this tool? Consistency in your family library, all with a free tool from CTC, here is the link to download the tool:

    https://www.ctcsoftware.com/bim-manager-suite-trial/